Home EV Charging Solutions For Tesla Owners
Are you considering the best way to charge your Tesla at home so it’s convenient, cost-effective, and future-proof?
Home EV Charging Solutions For Tesla Owners
This guide helps you choose, install, and optimize a home EV charging setup tailored to Tesla vehicles. You’ll find practical comparisons, electrical considerations, solar and battery integration tips, cost guidance, permitting and incentive advice for Nevada homeowners, and steps to work with a qualified installer like Nevada Solar Group.
Why a dedicated home charger matters
A dedicated home charger can save you time, reduce long-term charging costs, and give you greater control over when and how your Tesla charges. You’ll get faster charging than standard outlets, more reliable scheduling, and the option to integrate with solar power or battery backup so your vehicle can charge during sunny daytime hours or remain charge-ready during outages.
Charging basics: levels and what they mean for your Tesla
Understanding charging levels helps you match charger capability with your daily needs. You’ll mainly use Level 1 or Level 2 at home; DC fast charging (Level 3) is typically for public stations.
- Level 1: Uses a standard 120V household outlet. It’s slow but requires no special installation.
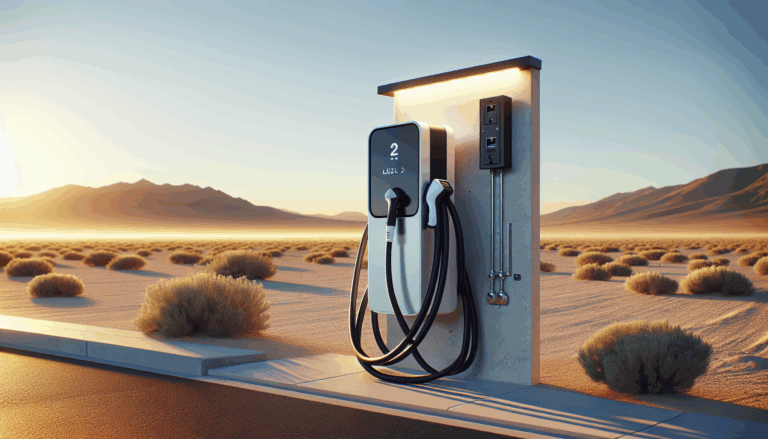
- Level 2: Uses a 240V circuit and a hardwired or plug-in unit. It’s the sweet spot for most homeowners.
- DC Fast Charging: Provides very high power and is found in public charging stations; not a common residential solution.
Quick comparison of charging types
| Charging Level | Typical Voltage | Typical Power | Typical Charge Rate (Tesla) | Best for |
|---|---|---|---|---|
| Level 1 | 120V | ~1.3–1.9 kW | ~3–5 miles/hour | Emergency / occasional use |
| Level 2 (NEMA 14-50 / hardwired) | 240V | 7.2–11.5 kW (depending on breaker and charger) | ~20–44 miles/hour | Daily home charging |
| DC Fast Charging (CCS / Tesla Supercharger) | 400–900V | 50+ kW | 150–300+ miles/30 min | Long trips / public charging |
Tesla-specific charging options for your home
Tesla vehicles are compatible with several home charging setups. You’ll choose based on speed, budget, and whether you want professional installation.
Tesla Mobile Connector and adapters
The Mobile Connector is portable and comes with an adapter for standard outlets (like NEMA 5-15 and NEMA 14-50 depending on your Mobile Connector kit and vehicle). It’s handy for occasional use and travel but is slower than a hardwired Level 2 station.
Tesla Wall Connector
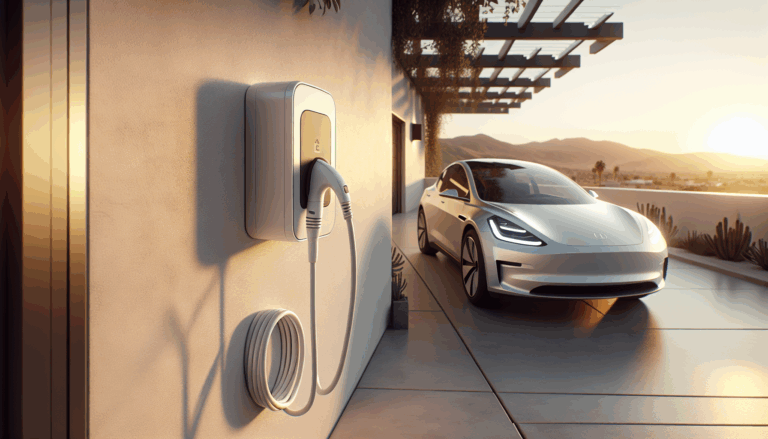
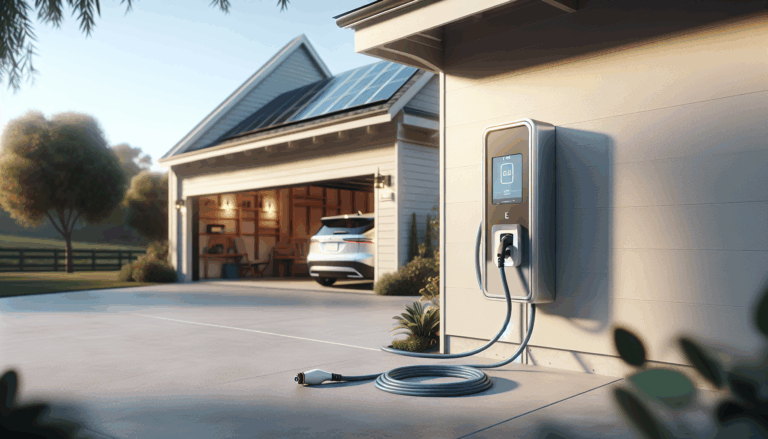
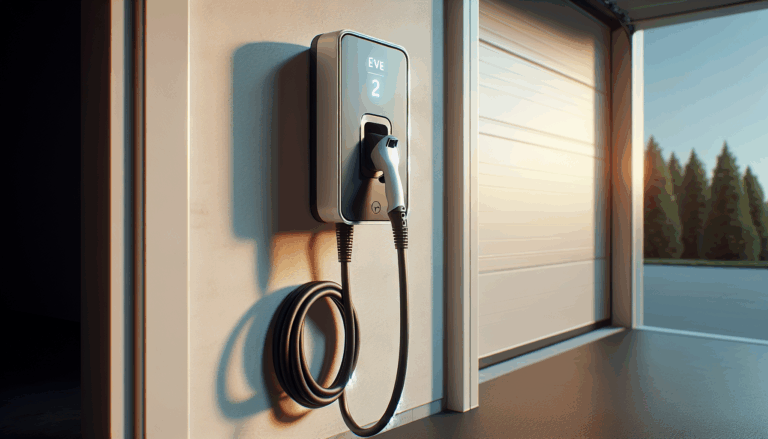
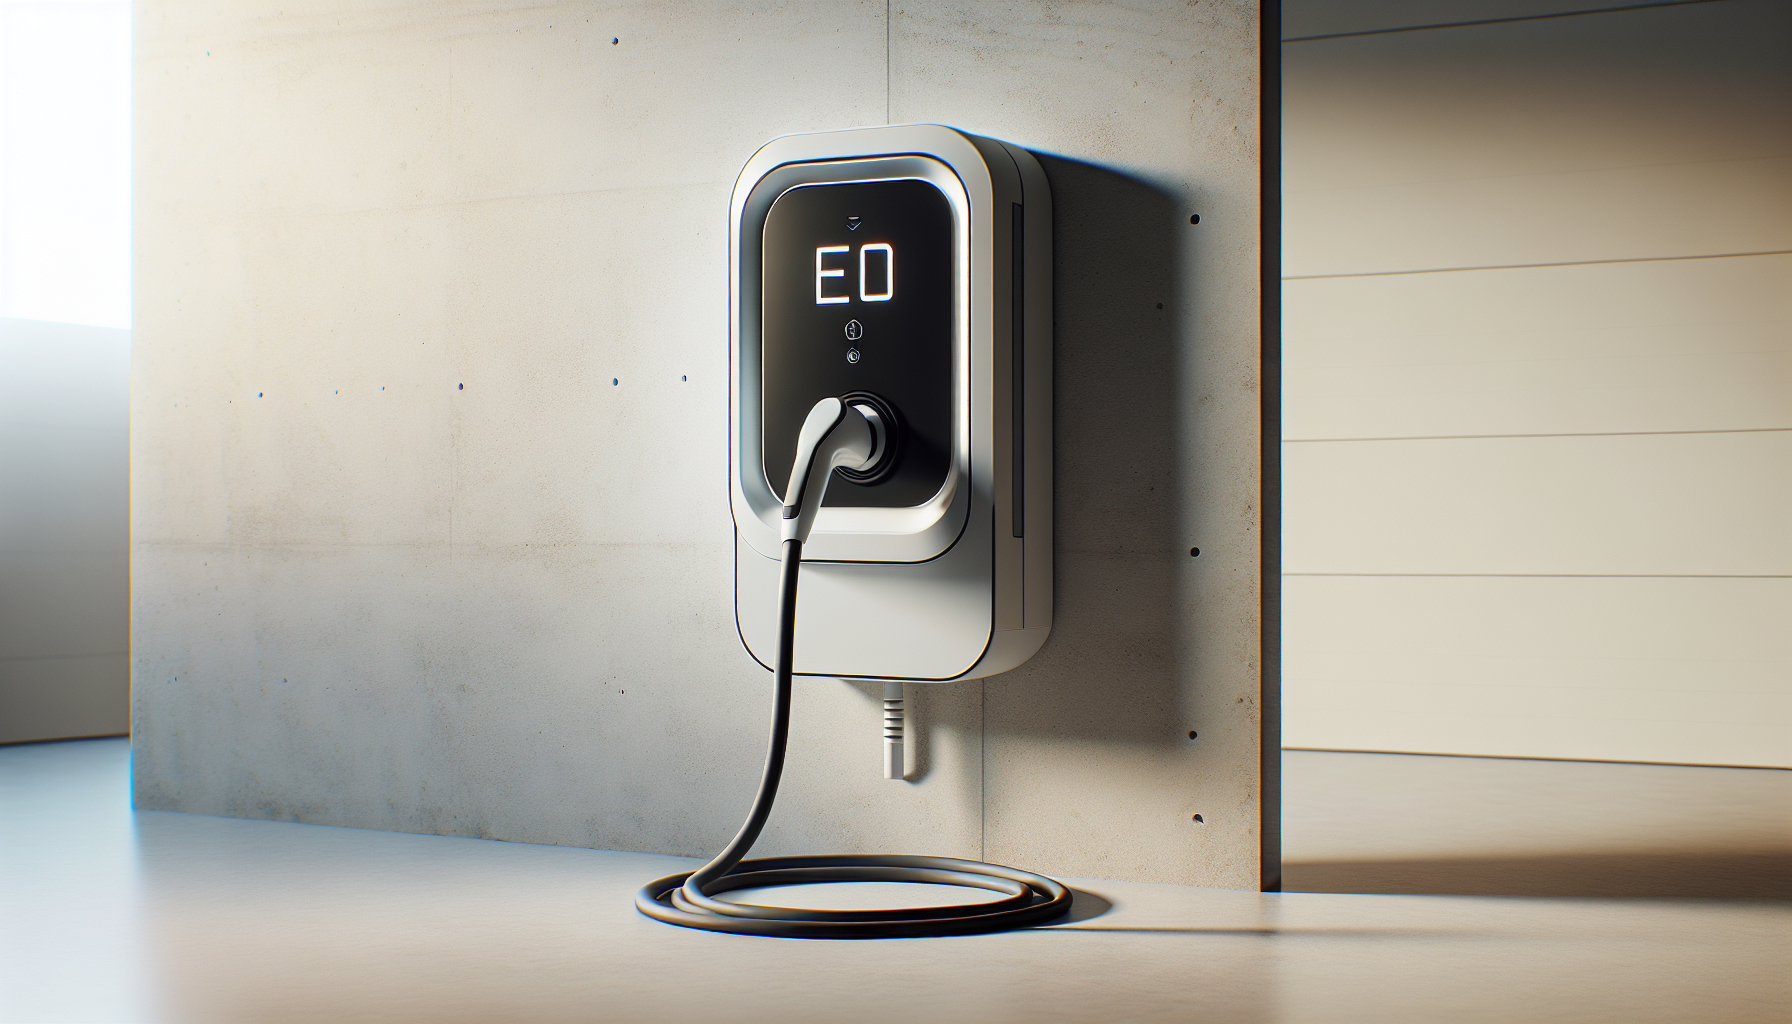
The Tesla Wall Connector is the common residential Level 2 solution. It mounts on your garage wall or an exterior surface, offers adjustable amperage up to the maximum your home can support, and can charge multiple vehicles with load sharing if you install more than one unit.
- Benefits: Faster charging, Wi‑Fi connectivity for firmware updates and scheduling, durable outdoor-rated unit.
- Considerations: Requires a dedicated 240V circuit and a professional electrician or certified installer for safe installation.
Third-party Level 2 chargers
Many third-party chargers work with Tesla using available adapters (Tesla-to-J1772 adapter). Features you may find include load balancing, smart scheduling, solar integration capability, and better multi-user or fleet controls for shared parking situations.
Electrical requirements and upgrades
Before selecting hardware, you should evaluate your home’s electrical system. Your main service panel, available capacity, and wiring will determine what charger amperage you can safely support.
Assessing your panel and service capacity
You’ll want a dedicated 240V circuit for most Level 2 chargers. Common breaker sizes are 30A, 40A, and 60A — the higher the amperage, the faster the potential charging rate. If your main panel is already near capacity, you may need a service upgrade to 200 amps or higher.
- Key check points:
- Main service size (e.g., 100A vs 200A)
- Free circuit space in the panel
- Condition and age of electrical components
- Location of panel relative to charging site (affects conduit and wiring costs)
Wiring and breaker sizing basics
Your electrician will choose wire gauge and breaker size based on the charger’s continuous load rating and NEC requirements. Typical guidance:
- 30A breaker → 24A continuous load → 10 AWG copper
- 40A breaker → 32A continuous load → 8 AWG copper
- 60A breaker → 48A continuous load → 6 AWG copper
Always have a licensed electrician advise you. Continuous loads (like EV chargers) must be sized conservatively for safety.
When you might need a service upgrade
You’ll usually need a service upgrade if:
- Your main service is less than 200A and you already run high-demand appliances (EV + HVAC + electric range).
- You want a high-amperage charger (e.g., 60A circuit or greater).
- Your existing panel lacks adequate breaker spaces for adding a dedicated circuit.
Installation process and typical timeline
Professional installation ensures safety, code compliance, and reliable operation. Here’s what you can expect when installing a Level 2 home charger.
Steps in the installation process
- Site assessment: Electrician or installer evaluates panel, charging location, and conduit path.
- Proposal and scope: You’ll receive an estimate covering hardware, labor, materials and any upgrades.
- Permit application: Local permitting is often required; your installer may handle this.
- Electrical work: Panel upgrades, circuit installation, conduit and wiring, mounting the charger, and connecting to the panel.
- Testing and commissioning: Charger testing, vehicle compatibility checks, and demonstration.
- Final inspection: Local authority approval may be required to close the permit.
Typical timeline
- Minor installs (panel permitting and simple run): 1–3 days.
- More complex installs (service upgrade or long conduit runs): 1–2 weeks, dependent on permit timelines and material availability.
- If you integrate solar and battery at the same time, plan for a coordinated schedule with additional engineering and permitting time.
Integrating solar panels and Tesla Powerwall with EV charging
You can significantly increase sustainability and resilience by pairing solar panels and a battery backup with your EV charging setup. Nevada Solar Group specializes in these integrated systems and can design solutions that maximize self-consumption and backup capability.
Charging from solar during the day
Charging directly from solar increases the percentage of miles driven on clean energy. If you charge while your panels produce peak output, you’ll reduce grid dependence and potentially lower costs.
- Actions you can take:
- Schedule charging for mid-day if you’re home.
- Use smart charging to match solar output with charge rate.
- Monitor production and charging through your energy management apps.
Using Tesla Powerwall for backup charging
A Tesla Powerwall combined with a proper backup gateway can keep your home and EV charging functional during outages. With the right configuration, you can prioritize essential loads, allocate Powerwall capacity for vehicle charging, and ensure critical mobility during emergencies.
- Keep in mind:
- Not all configurations allow unlimited vehicle charging during outage without depleting backup reserves.
- A licensed installer like Nevada Solar Group can design a system that balances household needs with EV charging priorities.
Smart energy management and self-consumption
Enabling smart energy management helps you prioritize charging from onsite solar, manage charge rates, and reduce peak demand. Many chargers and home energy systems allow you to set charging profiles that respond to solar production, battery state-of-charge, and utility time-of-use pricing.
Costs and return on investment
Costs vary widely based on hardware, electrical conditions, permitting, and whether you add solar or battery storage. While specifics depend on your situation, here are typical ranges and factors that influence cost.
Typical hardware and installation cost ranges
- Mobile Connector / adapter: Often included with vehicle; additional adapters $50–$200.
- Basic Level 2 charger (hardware only): $400–$900.
- Tesla Wall Connector (hardware only): $400–$700 (varies by generation and features).
- Professional installation (simple): $500–$1,500.
- Installation with panel upgrade or extensive wiring: $2,000–$6,000+.
- Solar + Powerwall + EV charging integrated system: Costs vary significantly; consult a local installer for a tailored estimate.
Factors that affect installation costs
- Distance and complexity of wiring run between panel and charger.
- Need for trenching, conduit, or mounting hardware.
- Whether a service panel upgrade is required.
- Local labor rates and permit fees.
- Integration with solar systems and Powerwall backup.
Estimating value and savings
You’ll save on per-mile fueling costs compared to gasoline or public DC fast charging. If you pair your charger with solar and battery storage, you’ll reduce grid electricity purchases and protect against outages, increasing property value. Consider payback in terms of convenience, reduced fuel costs, and long-term home value rather than immediate hardware ROI alone.
Incentives, rebates, and tax credits (Nevada focus)
There are several potential incentive sources that can help lower upfront costs. Incentive programs change regularly, so you should verify current offerings when planning.
Common incentive sources to check
- Federal incentives: There may be tax credits related to solar and battery storage installations (e.g., the federal solar investment tax credit may apply when you add solar and compatible storage).
- State and local incentives: Nevada and local utilities occasionally offer rebates or special programs to reduce the cost of EV chargers or home electrification projects.
- Utility programs: NV Energy and other utilities sometimes provide incentives, demand response programs, or special rates for EV customers.
- Manufacturer offers: Some charger manufacturers or solar companies run seasonal promotions or package discounts for combined solar + EV charging + battery systems.
Work with your installer to identify current programs. Nevada Solar Group can help you find applicable solar incentives, rebates, and financing options and will often handle paperwork for rebate and incentive applications.
Choosing the right installer: what to look for
Selecting a quality installer ensures safety, compliance, and a system that meets your goals. You’ll want to evaluate experience, certifications, and local reputation.
Key qualifications to verify
- Licensed electrician and appropriate contractor licenses for your state and locality.
- Experience installing Tesla Wall Connectors, Powerwall systems, and solar arrays.
- Local presence and knowledge of Nevada codes, permitting, and incentives.
- Clear warranty and service agreements on equipment and workmanship.
- References or reviews from nearby customers to assess reliability and quality.
Why local expertise matters
Local installers like Nevada Solar Group bring familiarity with Las Vegas and Nevada-specific issues — local permitting processes, typical electrical panel configurations, climate considerations for equipment placement, and available local incentive programs. Their partnerships with top manufacturers (SunPower, Panasonic, LG, S‑Energy, Tesla) mean they can offer trusted equipment options and warranty support.
Permits, inspections, and code compliance
Permits and inspections protect you and ensure your installation is safe and legal. Most municipalities require permits for new 240V circuits, panel upgrades, and structural modifications for outdoor mounting.
Permit and inspection checklist
- Electrical permit for the dedicated EV circuit.
- Building permit if mounting requires structural changes or for exterior installations.
- Final inspection by local authority having jurisdiction (AHJ) after installation.
- Utility notification or interconnection application if integrating solar or battery storage.
Your installer should coordinate permits and ensure all work complies with the National Electrical Code and local amendments.
Smart charging strategies to save money and prioritize power
Smart charging lets you control when and how your Tesla charges to take advantage of solar production and lower utility rates.
Time-of-use (TOU) scheduling
If your utility has TOU pricing, set your Tesla to charge during off-peak hours or when solar production is highest. This reduces costs and can shift load away from expensive peak periods.
Dynamic solar-first charging
Use home energy management systems or smart chargers configured to prioritize solar energy when available and fall back to the grid at night. This maximizes clean energy use and lowers your electricity bill over time.
Load management and multi-car setups
If you run multiple chargers or have a high overall home load, smart load management prevents tripping your main service. Some chargers and management systems dynamically share available power between multiple vehicles.
Safety, maintenance, and troubleshooting
Proper maintenance and safe operation keep your charger reliable for years. Small inspections and preventive actions can avoid larger problems.
Routine maintenance tips
- Check cable and connector for wear and damage periodically.
- Keep the charger and surrounding area clean and dry.
- Verify firmware updates are applied (if your charger supports Wi‑Fi updates).
- Periodically test GFCI and ground fault protections if present.
Common troubleshooting steps
- If charging doesn’t start, check vehicle settings, breaker trip, and charger status lights.
- If you see slow charging, confirm the charger’s amperage setting and vehicle charge limit.
- For persistent issues, contact your installer or a licensed electrician rather than attempting complex electrical fixes yourself.
Real-world scenarios and recommended solutions
Here are typical homeowner profiles and recommended charging solutions to help you decide.
You park in a garage and drive daily moderate miles
- Recommended: Tesla Wall Connector or a high-quality Level 2 charger hardwired to a 40A circuit.
- Why: Fast overnight charging and convenient scheduling.
You have limited daily driving and occasional long trips
- Recommended: Tesla Mobile Connector on a NEMA 14-50 outlet or a lower amperage Level 2 charger.
- Why: Cost-effective, adequate charging overnight without major upgrades.
You share a driveway or have multiple EVs
- Recommended: Tesla Wall Connector with load sharing feature or multiple Level 2 chargers with load management.
- Why: Balanced charging without overloading your service.
You want maximum sustainability and outage resilience
- Recommended: Integrated solar system with Powerwall + Tesla Wall Connector, professionally designed for backup priorities.
- Why: Clean energy charging and the ability to remain mobile during outages.
Checklist for planning your home EV charger
| Step | Action |
|---|---|
| 1 | Evaluate your daily driving patterns and charging needs |
| 2 | Inspect your main service panel capacity and panel location |
| 3 | Decide on charger type (Tesla Wall Connector vs. third-party) |
| 4 | Obtain quotes from licensed local installers (include Nevada Solar Group) |
| 5 | Review available incentives and financing options |
| 6 | Schedule site assessment and permit submission |
| 7 | Complete installation, inspection, and commissioning |
| 8 | Set up smart charging schedules and monitor performance |
Frequently asked questions (FAQs)
Will charging my Tesla at home damage my battery?
Charging at recommended voltages and avoiding extreme charging habits (e.g., repeatedly charging to 100% for daily use) helps preserve battery health. Use Tesla’s charge limit settings to maintain battery longevity.
Do I need a Tesla-specific charger?
No — your Tesla can work with J1772 Level 2 chargers using an adapter. A Tesla Wall Connector offers the best Tesla-native experience, including higher amperage and features optimized by Tesla.
Can I charge during a power outage?
Charging during an outage is possible if you have a battery backup like a Tesla Powerwall and the system is configured to support EV charging. Without battery backup, you typically cannot charge during a grid outage.
How do solar panels affect charging costs?
If you charge when solar production is high, your effective cost per mile can drop dramatically. Solar paired with battery storage also gives you off-grid or low-cost charging during other times.
Why consider Nevada Solar Group for your project
Nevada Solar Group is a Las Vegas-based company experienced in residential and commercial solar installations, Tesla Powerwall installations, and EV charging station installations in Nevada. You’ll benefit from their local expertise, partnerships with top manufacturers (SunPower, Panasonic, LG, S‑Energy), and their full suite of services from design through activation. They can handle solar panel installation, roofing replacement with solar shingles, smart home energy monitoring, permits, and licensed Tesla Powerwall installation — all helpful if you want a seamless integrated EV charging + solar + battery system.
- Services that support your EV charging goals:
- Solar system design and engineering tailored to Nevada’s climate and incentives
- Licensed Tesla Powerwall installer status for backup and charging during outages
- EV charging station installation and smart energy management
- Permitting, inspections, and financing assistance
Next steps to get your home charging solution started
- Assess your typical daily driving and charging needs.
- Schedule a site evaluation with a licensed local installer to inspect your electrical service and discuss options.
- Request a detailed quote that includes charger hardware, installation scope, permitting, and any necessary panel upgrades.
- Review potential incentives and financing to reduce upfront costs.
- Plan for future needs such as solar integration, Powerwall backup, and additional EVs to avoid expensive retrofits later.
Final thoughts
Your home charging setup shapes how conveniently and affordably you’ll run your Tesla. Choosing the right charger, ensuring your electrical system is prepared, and considering solar and battery integration will maximize convenience, minimize costs, and increase resilience. Working with a locally experienced installer — one familiar with Nevada regulations and incentives — will simplify the process and ensure a high-quality, safe installation. If you want a reliable partner that installs solar, Powerwall, and EV charging systems in Las Vegas and across Nevada, Nevada Solar Group can provide expert guidance and turnkey solutions to meet your needs. Nevada Solar Group 5145 S Arville St, Las Vegas, NV 89118 Phone: 702-899-5577 Email: info@nevadasolargroup.com Website: https://nevadasolargroup.com
Business Hours: Monday – Friday: 8:00 AM – 5:00 PM Closed Saturday and Sunday