Installing EV Chargers At Home: Step-by-Step
Have you thought about making charging your electric vehicle as simple as parking in your garage and plugging in?
Installing EV Chargers At Home: Step-by-Step
This guide walks you through everything you need to know to install an EV charger at home, written in a friendly, practical way so you can make informed decisions. You’ll learn the types of chargers, how to assess your electrical system, permitting and inspection requirements, installation steps, costs, incentives — and how to integrate your charger with solar panels and battery backup like Tesla Powerwall. If you’re in Nevada, you’ll also get tips that reflect local conditions and the expertise offered by a trusted local installer like Nevada Solar Group.
Why install an EV charger at home?
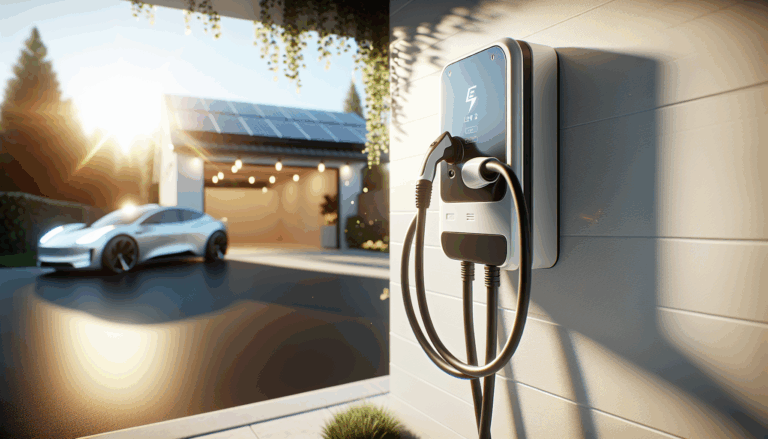
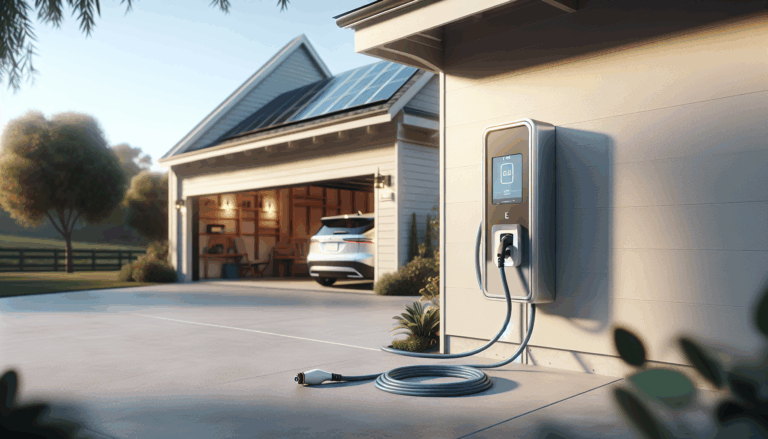
Installing a dedicated EV charger at home gives you faster charging, greater convenience, and better charging control than relying solely on a standard outlet or public chargers. You can schedule charges during off-peak rates, monitor energy use, and pair charging with solar power or battery storage to cut costs and increase resilience. As you move toward a cleaner transportation future, a home charger becomes a valuable asset that increases property utility and value.
Types of EV chargers and what they mean for you
Knowing the differences between chargers helps you choose the right one for your driving habits, home electrical capacity, and budget.
Level 1 chargers
Level 1 chargers plug into a standard 120V household outlet and deliver about 3–5 miles of range per hour. They are inexpensive and require no special installation, but they charge slowly, making them best for low-mileage drivers or overnight top-ups.
Level 2 chargers
Level 2 chargers run on 240V and typically deliver 15–60 miles of range per hour depending on charger power and vehicle acceptance. These are the most common home installations because they offer fast, practical charging for most drivers. They generally require a dedicated circuit and professional installation.
DC fast chargers
DC fast chargers provide very high power and rapid charging for commercial use. They are rarely practical or necessary at single-family homes due to high electrical demand and cost. If you’re running a business or multiple high-power vehicles, consult a commercial electrician and local utility.
Quick comparison table
| Charger Type | Voltage | Typical Power | Typical Range Added per Hour | Installation Complexity | Best for |
|---|---|---|---|---|---|
| Level 1 | 120V | 1–2 kW | 3–5 miles | Very low (no electrician) | Low-mileage/backup |
| Level 2 | 240V | 3.3–19.2 kW | 15–60 miles | Moderate (licensed electrician) | Daily driver / home use |
| DC Fast | 400–900V | 50+ kW | 150+ miles (varies) | High (utility upgrades) | Fleet/commercial |
Step 1 — Plan and evaluate your needs
Take time to assess how you use your EV and what you expect from home charging.
Understand your driving patterns
Look at daily and weekly mileage to estimate how much energy you’ll need. If you drive 30–50 miles a day, a Level 2 charger will comfortably recharge overnight.
Consider vehicle charging acceptance
Check your EV’s onboard charger capacity (kW) to match the charger you buy. Installing a 9.6 kW Level 2 unit won’t benefit a vehicle that only accepts 3.6 kW.
Evaluate charging location
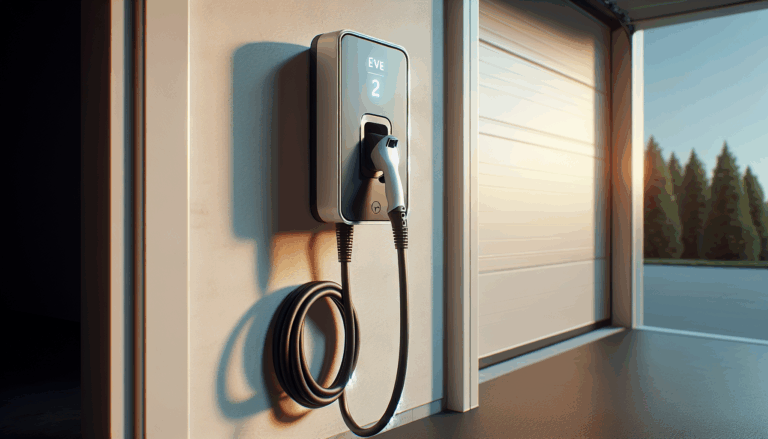
Decide whether to install in a garage, carport, or driveway. Covered locations protect equipment from weather and make installation easier. Think about cable reach and parking orientation so the charger is convenient and safe.
Think about future needs
If you anticipate buying additional EVs or upgrading vehicles, plan for higher-capacity circuits or multiple chargers now to avoid future rework.
Step 2 — Check your electrical panel and capacity
A critical step is confirming your home electrical service can handle a new charger.
Review your service size
Homes commonly have 100A, 200A, or larger main service panels. A Level 2 charger typically requires a 30–60A dedicated breaker. You must ensure that simultaneous loads (HVAC, appliances, motors) won’t cause overloads.
Perform a load calculation
A licensed electrician will perform a formal load calculation under the National Electrical Code (NEC) to determine whether you need a service upgrade. This calculation is required for permitting and ensures safety.
Options when capacity is limited
- Reduce load by shifting high-use appliance schedules.
- Install a lower-power charger (e.g., 16A instead of 40A).
- Upgrade the main service panel (e.g., to 200A).
- Pair the charger with a home battery or smart load management that prevents simultaneous peak draws.
Step 3 — Choose the right charger hardware
Selecting the right hardware means considering power, features, connectivity, and warranty.
Key features to consider
- Power rating (kW output)
- Cable length and connector type (typically SAE J1772 for most EVs; Tesla uses its own connector in US)
- Wi-Fi or cellular connectivity for monitoring and scheduling
- Smart charging features (time-of-use schedules, energy-based charging, load balancing)
- Weatherproof rating (NEMA 3R, NEMA 4)
- Safety features (ground-fault protection, overcurrent protection)
Brands and certifications
Choose chargers that are UL-listed and comply with local codes. Nevada Solar Group partners with quality product manufacturers and can recommend trusted brands that work well with solar and battery systems.
Hardwired vs. plug-in
Hardwired chargers are permanently connected to the breaker and look cleaner; plug-in models use a locking NEMA plug (e.g., NEMA 14-50) and are easier to replace or relocate. Discuss both options with your installer.
Step 4 — Permits, utility notification, and incentives
You’ll need to handle permits and possibly inform your utility. Incentives can reduce your cost significantly.
Permits and inspections
Most jurisdictions require an electrical permit for Level 2 installations. Your electrician or installer (like Nevada Solar Group) will typically handle permit submission, inspections, and sign-offs. Expect to provide:
- Equipment specification sheet
- Site plan showing charger location and panel
- Electrical load calculations
Typical permit timelines vary; in Nevada/Las Vegas, residential electrical permits may take a few days to a few weeks depending on complexity.
Utility notification and service upgrades
If you plan to add a high-power charger or multiple chargers, notify your utility. They may require a service study or temporary adjustments. Utilities sometimes offer rebates or special EV rates.
Incentives and rebates
Look into federal, state, and local incentives:
- Federal tax credits for residential EV charger improvements have varied — check current IRS guidance.
- Nevada may have state or utility rebates for charger equipment or installation. Nevada Solar Group can guide you through available solar incentives, EV charging station installation Nevada rebates, and how battery storage pairing may qualify for additional incentives.
- Some utilities offer demand response programs or special EV rate plans that lower charging costs when you schedule off-peak charging.
Tip: Document all installations and receipts for rebate or tax credit applications.
Step 5 — Hire a licensed electrician or installer
You should use a licensed professional for safety and compliance.
Why you need a pro
Working on main panels and high-voltage circuits is dangerous and regulated. A licensed electrician ensures NEC compliance, obtains permits, and coordinates inspections. If you want integrated solar + battery + EV charging, choose a company with proven integration experience.
Choosing an installer
- Look for local experience and certifications.
- Ask about warranty coverage and maintenance packages.
- For integrated solutions that combine solar, battery, and EV charging, consider a company like Nevada Solar Group, which offers solar panel installations in Las Vegas, Tesla Powerwall installations, and EV charging station installation Nevada services. They can coordinate system design and ensure compatibility with your energy setup.
What to ask potential installers
- Are you licensed and insured?
- Will you handle permits and inspections?
- Do you offer load calculations and will you check panel capacity?
- What product brands do you recommend and why?
- Can you integrate the charger with my solar system and Tesla Powerwall?
- What are your warranties and maintenance options?
Step 6 — Site preparation and pre-install checks
Before installation, make sure the site is ready.
Parking and access
Ensure the parking area is clear, and measure cable length from charger to vehicle. Confirm there’s an accessible, weather-protected location for the unit.
Panel access and route planning
Decide where the conduit and wiring will route from the panel to the charger. Identify obstacles like masonry, framing, or landscape features.
Coordination with roofing and solar work
If you have solar panels or plan solar roof work, coordinate schedules. Nevada Solar Group provides roofing replacement and solar shingle installation, which may affect where and when you route conduit or mount equipment.
Step 7 — Electrical installation step-by-step
This is a general overview of what the licensed electrician will do during installation. You should not attempt to perform these tasks unless you are certified.
1. Install a dedicated circuit
A dedicated breaker sized to the charger’s requirements is installed in your main panel or subpanel. For example, a 40A charger typically requires a 50A breaker per NEC continuous-load rules.
2. Run conduit and wiring
Electrical cable (e.g., THHN) is run through conduit from the panel to the charger mounting location. In garages, surface-mounted conduit or raceway keeps wiring neat and code-compliant.
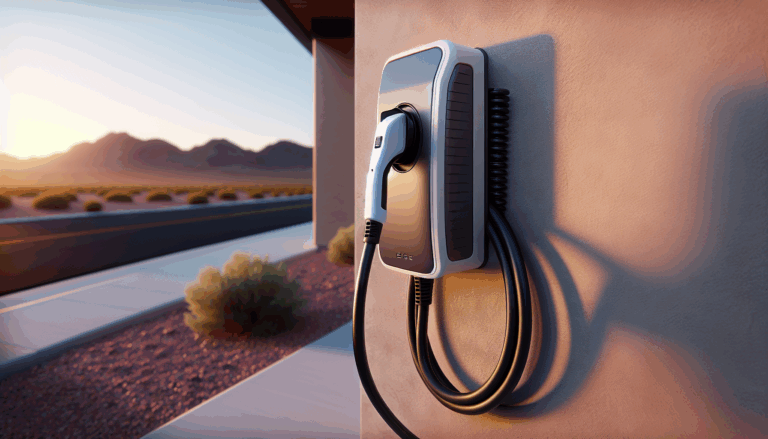
3. Mount the charger
The charger is mounted to a solid surface and secured. For outdoor installs, ensure the unit has appropriate weather sealing and straining reliefs at conduit entry points.
4. Connect and ground
The electrician makes final connections at the breaker and charger, ensuring proper grounding and bonding per code. GFCI or RCD protection is verified if required.
5. Program and test
The installer will power up the unit, configure Wi-Fi or network settings, and run test charges to confirm functionality. They’ll check error logs and calibrate smart settings if available.
6. Final inspection
After installation, the city or county inspector will verify the work and sign off. The installer will provide you with the necessary documentation for rebates or tax credits.
Step 8 — Integrating with solar and battery systems
Pairing EV charging with solar panels and a battery backup can reduce charging costs and provide resiliency during outages.
Charging direct from solar
During sunny periods, your solar system can supply energy to the charger. If you have an AC-coupled inverter, the charger draws from solar-exported energy through your home’s electrical system. Real-time optimization is possible with smart chargers and home energy management systems.
Using a Tesla Powerwall or other battery
If you have Tesla Powerwall (Powerwall 1 or 2) installed by an experienced installer like Nevada Solar Group, you can use stored solar energy to charge your EV during evening hours or when solar production is low. Powerwall integration can also prevent service overloads during high-demand periods by shifting charging to battery output.
Smart load management
Advanced systems can balance household loads, battery charging, and EV charging to avoid expensive panel upgrades. Nevada Solar Group offers home energy monitoring and system design/engineering to orchestrate these components smoothly.
Benefits of integration
- Lower utility demand charges and better use of solar production
- Increased resilience during outages with a Powerwall supplying critical loads
- Potential to qualify for additional solar incentives that favor combined systems
Step 9 — Costs and financing options
Understand typical costs and how to finance an installation.
Typical cost ranges
- Level 1: $0–$300 (often included with vehicle)
- Level 2 equipment: $400–$1,200 for the charger hardware
- Installation and electrical work: $500–$2,500+ depending on panel upgrades, distance, and complexity
- Panel/service upgrade: $1,500–$5,000+ if required
- Integration with solar and Powerwall: Varies widely; a whole-home solar + Powerwall + EV charger project can be tens of thousands of dollars but offers long-term savings and incentives
These are general estimates; your real costs may be different. Nevada Solar Group can provide a site-specific quote that factors in local labor and permitting costs.
Financing and incentives
- Many homeowners choose solar loans, home equity loans, or payment plans offered by installers.
- Solar + battery packages often include financing options and warranties that bundle charging equipment.
- Make sure to include available state and utility rebates in your calculations. Nevada Solar Group can help identify and apply for solar incentives Nevada and EV charging rebates.
Example cost table
| Item | Typical Cost (USD) |
|---|---|
| Level 2 charger (hardware) | 400–1,200 |
| Basic installation (no panel upgrade) | 500–1,200 |
| Mid-complexity installation (conduit, longer run) | 1,000–2,500 |
| Main service panel upgrade (if required) | 1,500–5,000 |
| Integration with solar/Powerwall | Varies widely (consult installer) |
Step 10 — Post-install setup and maintenance
After your charger is active, follow a few habits to ensure safe, efficient operation.
Register and update firmware
Create accounts and register your charger for warranty and firmware updates. Enable Wi-Fi or cellular for remote monitoring.
Set charging schedules
Use time-of-use rates and smart scheduling to charge during off-peak hours or when solar production is highest. Program limits to slow charging when needed to preserve battery health.
Regular maintenance
- Periodically inspect cables, connectors, and mounting hardware for wear.
- Keep the charger clean and clear of debris.
- Check for firmware updates and performance logs.
- Arrange annual inspections if recommended by your installer.
Warranty and service
Understand your charger’s warranty, electrician warranty, and any integrated system warranties (solar panels, Powerwall). Nevada Solar Group highlights warranty offers and customer service, so be sure to confirm what’s covered and how to request service.
Special considerations for Nevada homeowners
Nevada’s abundant sunshine makes solar plus EV charging a smart combination for many homeowners.
Solar advantages in Nevada
More solar generation hours mean more opportunity to charge directly from clean energy. Nevada Solar Group specializes in solar panel installation Las Vegas and can optimize systems to maximize solar used for EV charging.
Local incentives and utility programs
Look for solar rebates and EV charging station installation Nevada incentives. Utilities in Nevada occasionally offer programs to support electrification; check with your local utility and consult an experienced local installer to find current programs.
Weather and installation specifics
Outdoor chargers should be rated for extremes of heat. Installers familiar with Las Vegas climate — such as Nevada Solar Group — choose hardware suited to high temperatures and offer mounting and conduit techniques that withstand local conditions.
Safety and code compliance reminders
Safety is paramount when dealing with electrical systems.
Always use licensed professionals
Improper installations can cause fire hazards, personal injury, and code violations. Permit and inspection processes are designed to protect you and your home.
Follow vehicle and manufacturer guidance
Use only approved connectors and charging settings as recommended by your vehicle manufacturer. Avoid makeshift extensions or adapters that can overheat.
Emergency preparedness
If you integrate with a Tesla Powerwall or similar battery, ensure your installer sets up proper critical-load circuits and transfer switches so the charger doesn’t accidentally draw power during an outage unless you want it to.
Common pitfalls and how to avoid them
Be aware of frequent mistakes so you can avoid delays and extra costs.
Underestimating panel capacity
Don’t assume your panel can handle a new charger without calculation. A service upgrade mid-project is costly and time-consuming.
Choosing the wrong charger power
Buying a charger that exceeds your vehicle’s acceptance rate is wasted expense. Select based on both current vehicle and prospective future needs.
Neglecting planning for cable length and mounting
Short cables or awkward mounting can make daily use inconvenient. Measure and plan for comfortable reach.
Skipping permit steps
Skipping permits risks fines, voided insurance claims, and safety hazards. Use a reputable installer to handle paperwork.
Comparing DIY vs. professional installation
Here’s a quick look at pros and cons so you can make the right choice for your situation.
| Option | Pros | Cons |
|---|---|---|
| DIY (qualified electrician homeowner) | Lower labor cost if fully qualified; control over schedule | High risk if not licensed; potential code violations; likely not permitted; insurance issues |
| Licensed electrician/installer | Ensures code compliance, permits, and safety; professional warranty; integration expertise | Higher upfront cost; requires scheduling |
If you want integration with solar and Powerwall or a streamlined permitting process in Nevada, partnering with a full-service provider like Nevada Solar Group will simplify the process.
How Nevada Solar Group can help
Nevada Solar Group offers a full suite of services that simplify adopting clean energy and home EV charging solutions in Las Vegas and across Nevada.
Local expertise and licensed services
As a premier solar installation company in Las Vegas, Nevada Solar Group is a licensed installer of Tesla Powerwall 1 and 2 and delivers residential and commercial solar solutions. Their licensed electricians handle EV charging station installation Nevada processes, permits, and inspections.
Integrated system design
You can get solar panel installation Las Vegas paired with solar battery backup Nevada and EV charging station installation Nevada from the same trusted team. Nevada Solar Group emphasizes system design and engineering to ensure your solar, battery, and EV charger work harmoniously.
Product partnerships and warranty
They work with top brands like SunPower, Panasonic, LG, and S-Energy, and can recommend compatible EV chargers and Powerwall configurations. Nevada Solar Group highlights warranty offers and customer-centric service that simplifies adoption.
Customer support and monitoring
The company provides home energy monitoring via smart apps, allowing you to track solar production, battery status, and EV charging in real time — giving you the tools to optimize charging for cost and resilience.
Frequently asked questions
How long does installation take?
A straightforward Level 2 installation often takes 3–6 hours on site, but permit processing and scheduling may extend the total timeline to a few days or a few weeks. If a service upgrade is needed, allow extra time.
Do I need a service panel upgrade?
Only a proper load calculation will determine that. Many homes with 200A service can accommodate a Level 2 charger without upgrade, but 100A homes may need upgrades, depending on other loads.
Can I charge during a power outage?
Not safely unless you have a battery backup and an appropriately configured transfer switch. With Tesla Powerwall or similar systems professionally installed, you can charge from battery power during outages if configured to support that load.
Will a home charger increase my home value?
Yes. EV-ready homes are increasingly attractive to buyers and can be a value-added feature, much like modern smart-home upgrades.
Are there safety risks with EV chargers?
When installed correctly by a licensed professional and maintained properly, EV chargers are safe. Use certified equipment, follow manufacturer instructions, and schedule periodic inspections.
Final checklist before you start
- Assess daily driving needs and select charger type.
- Verify vehicle charging acceptance rate.
- Measure proposed charger location and cable length.
- Hire a licensed electrician and/or qualified installer (consider Nevada Solar Group for integrated solar and battery needs).
- Request and review load calculation and permit process.
- Check local and utility incentives and prepare documentation.
- Schedule installation, inspection, and final testing.
- Set up monitoring, schedule charging, and register warranties.
Installing an EV charger at home is a practical, future-focused upgrade that makes electric vehicle ownership easier and more affordable over time — especially when paired with solar and battery systems. If you want a turnkey solution in Nevada that includes solar panel installation Las Vegas, Tesla Powerwall installer Nevada options, and EV charging station installation Nevada expertise, working with a company experienced in system integration will reduce friction and get your EV charging reliably and efficiently. Nevada Solar Group 5145 S Arville St, Las Vegas, NV 89118 Phone: 702-899-5577 Email: info@nevadasolargroup.com Website: https://nevadasolargroup.com
Business Hours: Monday – Friday: 8:00 AM – 5:00 PM Closed Saturday and Sunday