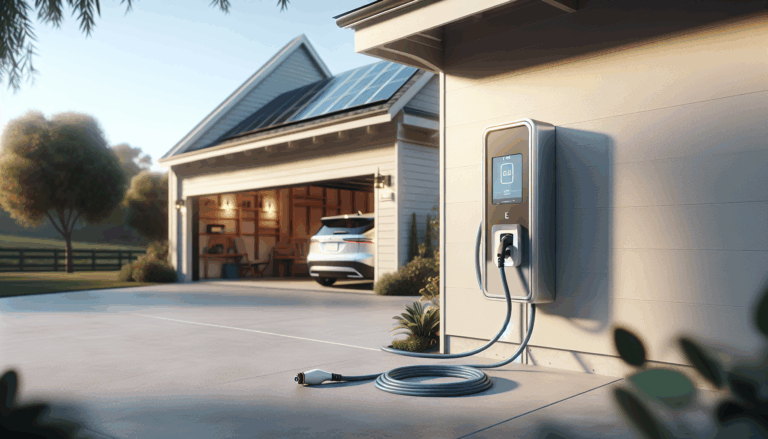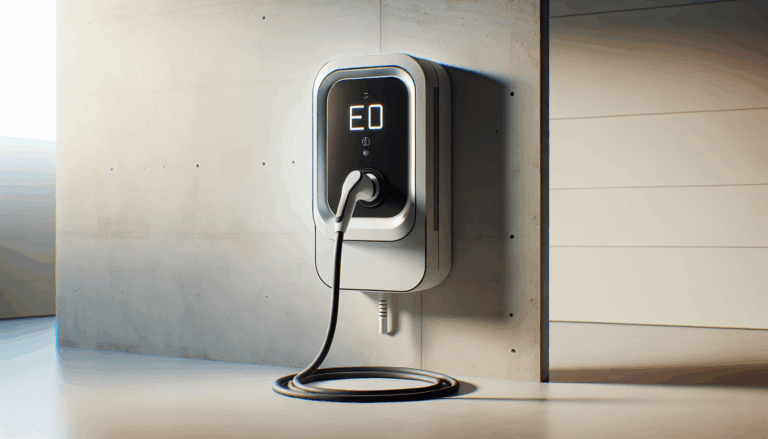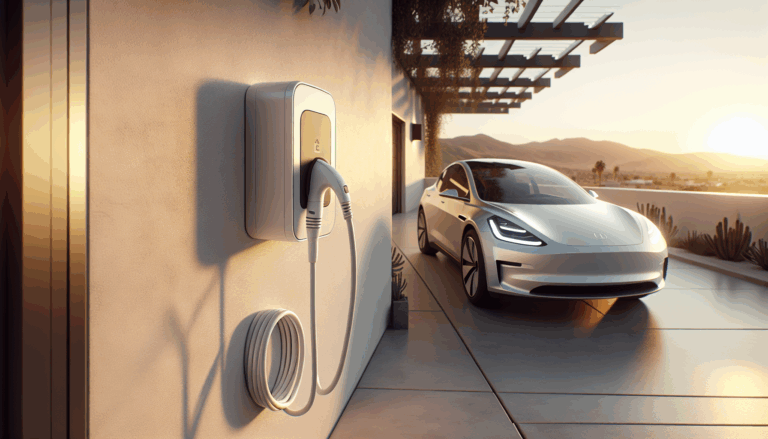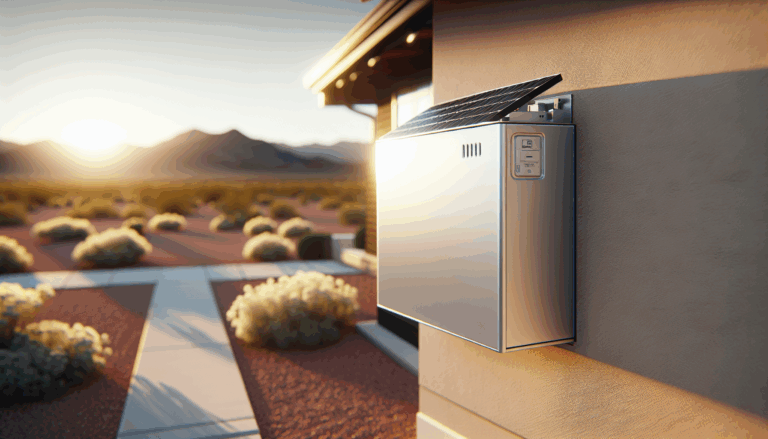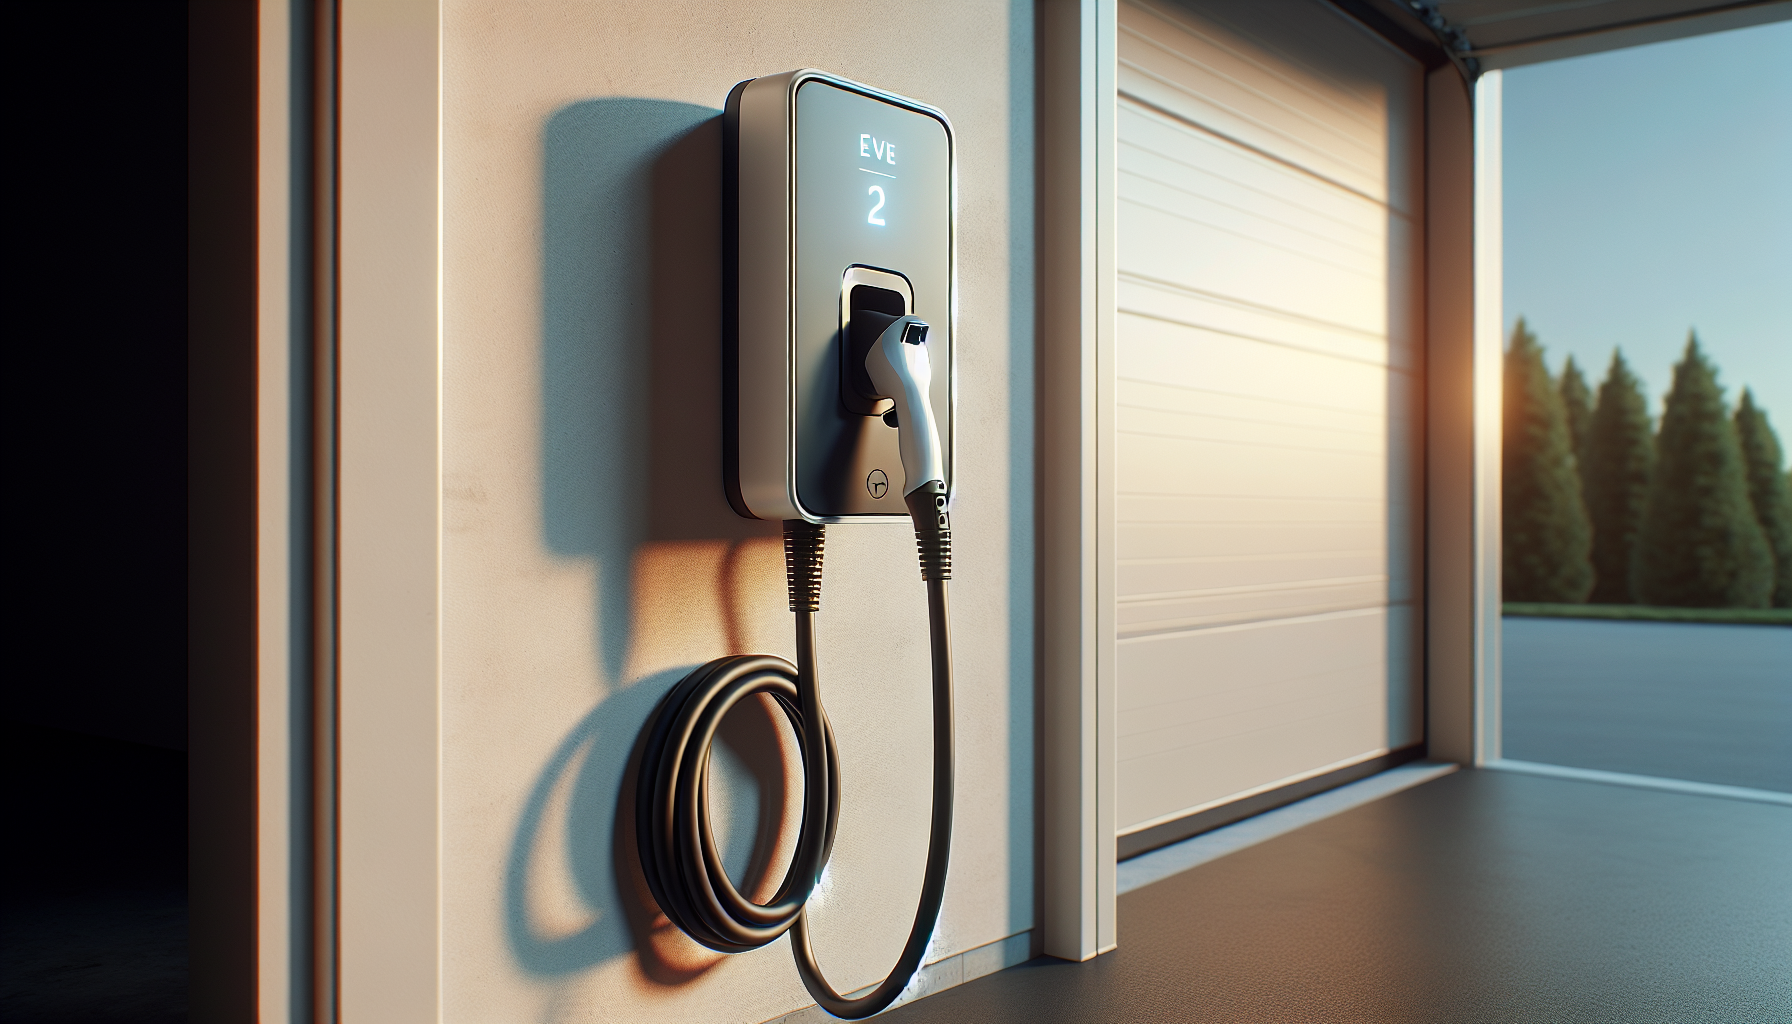
Home EV Charging Station Installation Guide
? Are you thinking about adding an electric vehicle charging station to your home and want a clear, friendly guide to get it done right?
What this guide covers
This guide walks you through everything you need to know to install a home EV charging station, with practical steps, safety and code considerations, cost ranges, permit guidance, and tips for integrating solar panels and battery backup like the Tesla Powerwall. You’ll learn how to pick the right charger, what an electrician will look at, and how Nevada Solar Group can help if you want local expertise in Las Vegas and Nevada.
Why install a home EV charging station?
Installing a home EV charger gives you the convenience of charging overnight, lower fueling costs compared with gasoline, and potential increases in property value. You’ll also be set up to take advantage of solar energy and battery backup, reducing reliance on the grid and maximizing clean energy use.
Who should read this guide?
You should read this guide if you own or plan to own an EV and want to install a Level 2 home charger, especially if you live in Nevada and are considering solar and battery integration. The material is written for homeowners who want to understand choices, costs, permits, and how to coordinate with certified installers like Nevada Solar Group.
Quick glossaries you’ll use throughout the guide
A couple of short definitions so technical terms don’t slow you down.
- Level 1: Standard 120V charging from a household outlet; very slow but usable for low-mileage drivers.
- Level 2: 240V charging, typically 7–11 kW at home; the most common residential upgrade.
- DC Fast Charging (Level 3): High-power public charging; usually not practical for residential setups.
- NEMA 14-50: A common 240V outlet used for EV charging setups and other high-load appliances.
- Hardwired: Charger is permanently connected to the electrical panel (no plug).
Types of home EV chargers and which you’ll likely want
You’ll choose between three main types depending on speed, cost, and how you want the unit installed.
Level 1 chargers
These are the simplest option and use a standard 120V outlet. They’re slow but often free with the car. You’ll rely on these if you drive very little daily or need temporary charging.
Level 2 chargers
Level 2, 240V chargers are the best balance of speed and cost for most homeowners. You’ll charge faster (often 20–60 miles of range per hour), and many models include smart features for load scheduling and solar integration.
DC fast chargers
These are high-power commercial units that aren’t usually installed at residences because of cost, heavy electrical infrastructure, and local regulations. You’ll find them useful only in special circumstances where you need extremely fast charging at home and can accommodate the electrical demand.
Common charger form factors and connector compatibility
You’ll choose chargers by how they attach and what connector your EV uses.
Connectors
Most U.S. EVs use CCS1 (Combined Charging System) for DC fast charging but use a standard J1772 connector for AC Level 2 charging (all EVs except Teslas). Tesla vehicles use the NACS connector natively, and adapters are widely available to connect Teslas to J1772 or CCS chargers. Newer Tesla equipment and many manufacturers are adopting the NACS standard, so check compatibility before buying.
Hardwired vs plug-in
- Hardwired: Cleaner installation, often required by local codes for permanent EVSE (electric vehicle supply equipment). You’ll need a licensed electrician.
- NEMA 14-50 or NEMA 6-50 outlet: Provides a portable solution if you want to move or take the charger with you. Helpful if you rent or plan to relocate.
How to choose the right charger for your needs
Choosing a charger depends on your vehicle, driving habits, electrical panel capacity, and whether you want smart features.
Key questions to ask yourself
- How many miles do you drive daily?
- Do you plan to add solar panels or a battery backup?
- Do you want smart scheduling, app control, or energy monitoring?
- Will you need to charge more than one EV at a time?
- What’s the distance from your panel to the desired mounting location?
Charger features to prioritize
- Continuous amperage rating and matching breaker/wire sizing
- Smart app features: scheduling, energy monitoring, solar integration
- Weatherproof rating (NEMA 3R or better for outdoor installations)
- Manufacturer warranty and UL listing
- Load management if you have multiple chargers or limited panel capacity
Site assessment: what the electrician or installer will check
Your installer will evaluate several physical and electrical items you’ll need to consider.
Physical site factors
- Recommended mounting location (garage wall vs exterior wall)
- Distance from the main service panel to charger location
- Ease of conduit routing and trenching (if needed)
- Mounting height and cable management to reduce tripping hazards
- Exposure to heat, sun, dust, or extreme weather—especially relevant in Nevada’s climate
Electrical factors
- Main service size (100A, 200A, etc.) and available capacity
- Existing panel load and spare breakers
- Need for a service upgrade or subpanel
- Conduit and wire run feasibility
- Grounding and bonding conditions
Electrical requirements at a glance
Understanding wire gauge and breaker sizing will help you evaluate quotes and options.
How continuous-load sizing works (NEC basics)
Electric vehicle charging is considered a continuous load by the National Electrical Code (NEC). That means the circuit must be sized at 125% of the charger’s continuous current draw. For example, if the charger draws 32A continuously, the circuit must be rated for at least 40A (32A × 125% = 40A).
Typical charger power and corresponding circuit sizing
Use this table to match common charger output to breaker and minimum copper wire size. Always confirm with your electrician and local code authority.
| Charger continuous current | Typical breaker size | Minimum copper wire gauge (THHN) | Typical charger nameplate |
|---|---|---|---|
| 16A (3.8 kW) | 20A | 12 AWG | Lower-power Level 2 |
| 24A (5.8 kW) | 30A | 10 AWG | Moderate Level 2 |
| 32A (7.7 kW) | 40A | 8 AWG | Common residential Level 2 |
| 40A (9.6 kW) | 50A | 6 AWG | Higher-power Level 2 |
| 48A (11.5 kW) | 60A | 4 AWG | High-power single-phase |
Note: Conductor sizing depends on insulation type, installation method, and temperature ratings. Your licensed electrician will confirm exact sizing per local code.
Permits and inspections in Nevada
Permits protect safety and ensure your installation meets code. You’ll generally need an electrical permit for new 240V circuits and inspections after installation.
Where to check local requirements
You’ll want to check with your city or county building department in Nevada (Las Vegas/Clark County or your local jurisdiction) for permit forms and fee schedules. You can also ask Nevada Solar Group or a licensed electrician to obtain permits on your behalf and schedule final inspections.
Typical permit steps
- Apply for an electrical permit with basic project details.
- Provide charger and breaker specifications.
- Schedule an inspection after installation. An inspector will verify wiring, grounding, and mounting conformity.
Timeline for a typical installation
Knowing timing helps you plan around vehicle arrival or work schedules.
Typical schedule
- Initial consultation and site assessment: 1–7 days to schedule.
- Final quote and permit application: 1–7 days depending on documentation.
- Permit approval: 1–14 business days depending on jurisdiction.
- Installation: 2–8 hours for a straightforward garage install; longer if trenching, panel upgrades, or complex conduit runs are required.
- Inspection and activation: 1–5 business days after inspection scheduling.
Overall, you can expect a typical project from consultation to activation to take 1–3 weeks for simple jobs, and 3–8 weeks for more involved projects or if a service upgrade is needed.
Costs you should expect
Costs vary by region, electrical complexity, and charger model. Here’s a practical breakdown to set expectations.
Typical cost components
- Charger hardware: $400–$1,500 (single-port Level 2 models)
- Installation labor and materials: $300–$2,500 (depends on conduit length, wall mounting, and complexity)
- Panel upgrade (if required): $1,000–$4,000+ depending on the service size and region
- Permit fees: $50–$300
- Trenching or long cable runs: $200–$2,000 depending on distance and landscaping
Example cost ranges
- Simple garage install (no panel upgrade): $800–$2,000 total
- Moderate job (short run, new 240V circuit): $1,200–$3,000 total
- Complex job (panel upgrade, long trench): $3,000–$8,000+ total
If you plan to pair the charger with a solar installation or Tesla Powerwall, coordinate with your solar installer to optimize conduit runs, reduce duplicate work, and save on overall labor.
Integration with solar panels and Tesla Powerwall
You’ll get the most value by integrating EV charging with solar energy production and battery storage, especially in sunny states like Nevada.
Why integrate with solar and battery storage?
By pairing EV charging with solar panels, you can charge your vehicle with clean, low-cost electricity during the day. Adding a battery—such as Tesla Powerwall—lets you store solar energy for night charging or use it during grid outages.
How integration typically works
- Solar system generates DC electricity, which an inverter converts to AC for home use.
- Any excess can charge the EV directly (when timed correctly) or charge the battery for later use.
- Smart chargers and energy management systems can schedule charging when solar generation is high or when utility rates are lowest.
- Nevada Solar Group can design systems that coordinate solar, Powerwall, and EV charging so energy flows make sense for your lifestyle and local utility rate structure.
Considerations for backup and outage charging
If you want to charge during outages, you’ll need a system that supports islanding and safe transfer—Powerwall offers backup capability when installed and configured properly. You’ll need to ensure the EV charger is on a circuit that the backup system can energize. You’ll coordinate with your installer to set which circuits are backed up by the Tesla Powerwall.
Utility rates, smart charging, and load management
Your utility rate structure matters. Time-of-use (TOU) pricing can make charging during off-peak hours much cheaper.
Smart charging features to optimize cost
You can schedule charging to avoid peak demand charges or to follow solar production. Features to look for:
- Scheduling by time-of-day
- Solar-only charging modes
- Load management to avoid exceeding panel or service capacity
- Dynamic response to utility signals or grid events
Load sharing and multiple EVs
If you have multiple EVs at home, load-sharing systems or power managers let you distribute available power among chargers so you don’t need a huge panel or separate upgrades for each vehicle.
Safety, code, and best practices
Safety is paramount. You’ll want a licensed electrician and proper permitting to ensure a code-compliant, safe installation.
Key safety items
- Proper grounding and bonding
- GFCI and AFCI protection as required
- Weatherproof enclosures for outdoor installation
- Proper breaker and wire sizing (continuous-load calculation)
- Clear labeling and breaker identification
- Cable management and drip loops to prevent water ingress
Environmental and location considerations in Nevada
- Install chargers where they get shade or choose units rated for high heat. Extreme heat can affect electronics and cable flexibility.
- Use UV- and heat-rated conduits and mounting hardware.
- Ensure mounting hardware is corrosion-resistant for longevity.
Choosing between a DIY and professional installation
You can purchase portable 240V chargers and plug them into appropriate outlets, but hardwiring and new circuits require a licensed electrician.
Why you’ll likely want a professional
- Local permit and inspection compliance
- Safe, code-compliant wiring and grounding
- Proper panel and load assessment
- Warranty enforcement—many charger warranties require licensed installation
Nevada Solar Group has licensed electricians and experience integrating solar and battery systems, which you’ll find helpful if you want a single trusted company to handle the end-to-end project.
Warranties, certifications, and product selection
Look for UL listing, manufacturer warranty, and service availability in your area.
Certifications and reliability
- Look for UL-listed EV supply equipment and reputable manufacturers.
- Confirm the installer’s licensing and insurance status.
- Ask about product and labor warranties, and what is covered.
Maintenance and troubleshooting tips
After installation, some simple maintenance and troubleshooting will keep your charger reliable.
Routine maintenance
- Keep the charger and cable clean of dust and debris.
- Inspect the cord for wear or damage periodically.
- Check mounting hardware and enclosure seals to ensure they remain tight.
- Test the charger’s app and update firmware when prompted.
Common troubleshooting steps
- Charger not communicating: reboot the charger per manufacture instructions and check Wi‑Fi or ethernet connections.
- No power: check the breaker, inspect wiring for any visible issues, call your electrician if the breaker trips.
- Slow charging: confirm vehicle’s onboard charger max, charger output, and any vehicle settings limiting charge rate.
- Error codes: consult the charger manual and support line; many issues can be resolved remotely or by a firmware update.
Rebates, incentives, and tax credits (how to find them)
Incentives change frequently. You’ll want to check authoritative sources.
Where to look for up-to-date incentives
- DSIRE (Database of State Incentives for Renewables & Efficiency)
- Nevada Governor’s Office of Energy
- NV Energy programs and rebates
- Federal incentive portals and IRS guidance
- Ask your installer—Nevada Solar Group monitors local incentives and can help you maximize available rebates, solar tax credits, and potential utility programs.
Tip: Homeowners who add solar and battery systems often get added incentives or better economics, and installers like Nevada Solar Group can design systems that capture the best available benefits.
Choosing an installer: what to look for
You should pick a company that has local experience, licensed electricians, strong product relationships, and transparent pricing.
Checklist for comparing installers
- Local licensing, insurance, and permit handling
- Experience with solar + Powerwall + EV charger integration
- Manufacturer certifications (Tesla Powerwall installer, SunPower, LG, etc.)
- Clear warranty and after-sales support
- Customer reviews and references
- Detailed proposal showing hardware, labor, conduit runs, panel assessments, and timeline
Nevada Solar Group fits many of these criteria for homeowners in Las Vegas and Nevada, offering licensed Tesla Powerwall installations and solar systems integrated with EV charging.
Sample installation process (step-by-step)
This is a typical flow you’ll observe if you hire a professional installer.
- Initial consultation: discuss needs, vehicles, and charging goals.
- Site assessment: electrician inspects panel, routing, and location.
- Proposal and permit filing: you approve scope and installer files permits.
- Procurement: installer orders charger, conduit, and materials.
- Installation day: electrician runs conduit, installs breaker, mounts charger, and wires the unit.
- Inspection: local inspector verifies installation.
- Commissioning: charger is tested, connected to Wi‑Fi and configured.
- Handover: installer shows you operation and app features, and provides warranties.
Example decision scenarios
A couple of short scenarios to help you see how choices map to real life.
Scenario 1 — You drive 30 miles daily and have a garage
A 32A (7.7 kW) hardwired Level 2 charger is a solid choice. It’ll fully charge overnight and is cost-effective. You’ll likely need a 40A breaker and 8 AWG copper.
Scenario 2 — You want zero-grid charging as much as possible
Coordinate a solar array sized to match daytime vehicle charging and consider a Tesla Powerwall or other battery to smooth charging at night. Nevada Solar Group can design integrated systems to maximize self-consumption and provide backup charging during outages.
Frequently asked questions (short answers)
Q: Do I need a dedicated breaker? A: Yes. The charger must be on a dedicated 240V circuit sized for continuous load.
Q: Can I use my dryer outlet? A: You should not use a shared outlet or circuit. The dryer circuit is not typically dedicated for EV charging; you need a circuit dedicated to the EV charger.
Q: Will my homeowner’s insurance change? A: Check with your insurer—installations are usually standard but it’s wise to notify them.
Q: Can I install in a shared driveway or on a rental property? A: You can, but check ownership and lease agreements; portable solutions like a NEMA 14-50 plug may help if you move.
Final considerations and next steps
You’ve learned the technical basics, costs, permit steps, safety considerations, and the advantages of integrating with solar and battery systems. Next steps you can take:
- Build a list of your vehicle’s charging capabilities and daily mileage.
- Schedule a site assessment with a licensed electrician or an experienced local installer like Nevada Solar Group.
- Check local permitting requirements and potential utility or state incentives.
- Decide whether you want a portable plug-in charger or a hardwired smart Level 2 charger.
Why work with a local, certified installer like Nevada Solar Group
You’ll benefit from working with a licensed, local company that understands Nevada permits, utility programs, and the best ways to integrate solar, Tesla Powerwall, and EV charging. Nevada Solar Group offers design, permitting, installation, and monitoring services that simplify the process, and their partnerships with top manufacturers ensure you get quality components and warranty support.
If you want a reliable, compliant, and efficient home EV charging setup that leverages local incentives and solar integration, contacting an experienced provider is a smart move—you’ll save time and reduce the risk of surprises during installation. Nevada Solar Group 5145 S Arville St, Las Vegas, NV 89118 Phone: 702-899-5577 Email: info@nevadasolargroup.com Website: https://nevadasolargroup.com
Business Hours: Monday – Friday: 8:00 AM – 5:00 PM Closed Saturday and Sunday