Tesla Powerwall 3 Installation: What To Expect
Have you been thinking about adding a home battery to protect your household from outages and lower your energy bills?
What is the Tesla Powerwall 3?
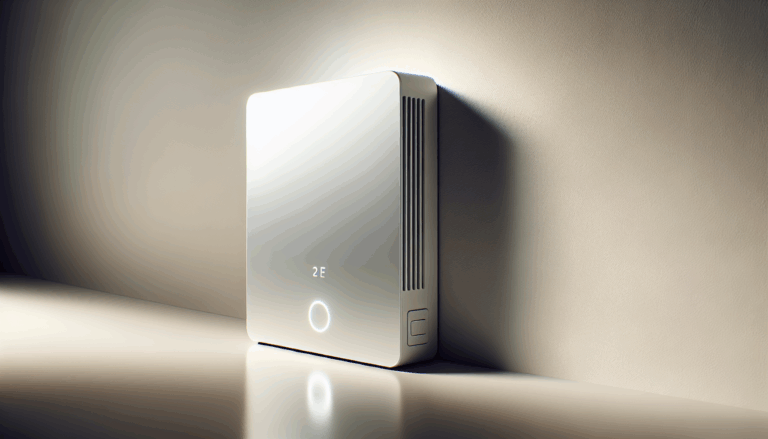
The Tesla Powerwall 3 is the latest generation of Tesla’s home battery systems designed to store energy for backup power, self-consumption of solar energy, and load shifting during high-rate periods. You can expect it to work seamlessly with solar panels, EV chargers, and the Tesla app to give you real-time monitoring and control.
This section gives you a baseline understanding so you know what the product is intended to do and how it fits into a modern residential energy system.
Is the Powerwall 3 right for your home?
Deciding whether the Powerwall 3 is right for you depends on your goals: backup resilience, maximizing solar self-consumption, reducing demand charges (if applicable), or preparing for EV charging demands. You’ll want to compare your typical usage, outage tolerance, and budget to determine if one or multiple units make sense.
You should also consider whether you’re planning a solar installation (or already have solar) because pairing battery storage with solar increases the overall value and utility of the system.
How Nevada Solar Group can help
Nevada Solar Group is a Las Vegas-based solar installation company with experience in residential and commercial solar solutions, roofing replacement, EV charging station installations, and battery backup systems. The company has previously been a licensed installer for Tesla Powerwall 1 and 2 and brings local expertise in permitting, system design, and integration.
If you live in Nevada, working with a local Tesla Powerwall installer like Nevada Solar Group simplifies permitting and helps you tap into regional incentives, solar rebates, and interconnection processes specific to your utility.
Pre-installation assessment: what happens before installers arrive
Before installation, a thorough site assessment and energy audit are essential. You’ll have a technician evaluate your electrical panel, meter location, available wall or floor space for the battery, and roof layout for solar integration.
The assessment includes a load analysis to determine how many Powerwall units you need and whether you’ll want to protect select circuits (critical loads) or the whole home. This is also the time to discuss EV charging needs and potential future expansions.
Energy usage and battery sizing
You’ll work with the installer to review your historical energy usage, daily load profile, and outage tolerance. This helps determine the number of batteries required and whether you should prioritize storage for backup or for increasing solar self-consumption.
Sizing is a balance between capacity (kWh stored) and power (kW output). The installer will explain trade-offs so you understand how long the battery will run selected loads.
Site access, clearances, and preferred mounting location
Your installer will check for suitable mounting spots—usually an exterior wall on the ground level with protection from direct water flow and with sufficient structural support. You should plan to provide clear access and remove obstacles where the crew will work.
If you live in a multi-story home, garage or utility room, discuss indoor vs. outdoor mounting, though Tesla units are typically installed outdoors on a ground or wall mount.
Permits, inspections, and interconnection
Installing a battery system requires permits and inspections from local authorities. Nevada Solar Group will typically handle permit applications, plan submissions, and scheduling inspections with local jurisdictions like Clark County or the City of Las Vegas.
You’ll also need an interconnection agreement with your utility (e.g., NV Energy). This process verifies safe grid interaction and sets terms for exporting solar energy when applicable. Expect additional paperwork and a formal inspection before final interconnection approval.
Typical permit timeline in Nevada
Permit review timing varies by city and county, but you can expect anywhere from a few days to several weeks depending on workload and completeness of the application. Your installer will provide a timeline estimate based on local experience.
You should prepare for inspections that verify code compliance, proper disconnects, and safe electrical work before the system is energized.
What installation day looks like
On installation day, a professional crew will arrive and set up safety barriers and site protection. They’ll mount the Powerwall units, run conduit and wiring to the main electrical panel or backup subpanel, install required disconnects, and make the necessary connections to the solar system and/or utility meter.
The process typically includes both mechanical mounting and significant electrical work. The crew will coordinate with you about temporary power interruptions; they’ll schedule power shutoffs for final connections and testing.
Typical installation timeline
The length of installation depends on complexity. Simple installs that add a Powerwall to an existing solar+meter setup often take 4–8 hours. More complex jobs—panel upgrades, additional subpanels, or multiple Powerwalls—can take a day or two.
Below is a simplified timeline you can use to plan your day:
| Task | Typical Duration |
|---|---|
| Site setup and safety prep | 30–60 minutes |
| Mounting battery enclosure(s) | 1–2 hours |
| Running conduit and wiring | 1–3 hours |
| Electrical connections and panel work | 1–3 hours |
| System configuration and firmware updates | 30–90 minutes |
| Commissioning, testing, and homeowner walkthrough | 30–60 minutes |
Electrical work and safety features
Powerwall installation requires work at your main service equipment. You may need a main panel upgrade if your panel lacks capacity or space for new breakers. Your installer will determine whether a load side or line side connection is proper, and whether a critical loads subpanel is needed for selective backup.
Safety devices include rapid shutdowns, AC and DC disconnects where applicable, and proper grounding. The system will also include internal protections to prevent backfeeding into the grid during outages.
Critical loads vs. whole-home backup
You’ll decide whether to protect the entire home or only critical circuits such as refrigerator, lights, medical devices, and communications. Whole-home backup requires the system be sized to handle peak loads, which may increase the number of Powerwalls and costs.
In many cases, a mix approach—protecting critical loads while using stored energy for high-priority loads—is the most cost-effective.
Mounting options and structural considerations
Powerwall units are typically mounted on exterior walls or on a ground mount near the inverter and main panel. They’re rugged and engineered for outdoor exposure, but you must ensure they are installed on a structurally sound wall or properly anchored pad.
If your installation requires roof or second-story mounting, additional planning for access and structural load is necessary. The installer will check local codes and structural requirements to make sure your chosen location is safe.
Space and clearance guidelines
Your installer will follow manufacturer-specified clearances for airflow and maintenance access. Keep the area around the unit free of debris, and ensure you maintain required clearances for inspections and servicing.
Integrating Powerwall 3 with solar panels and EV charging
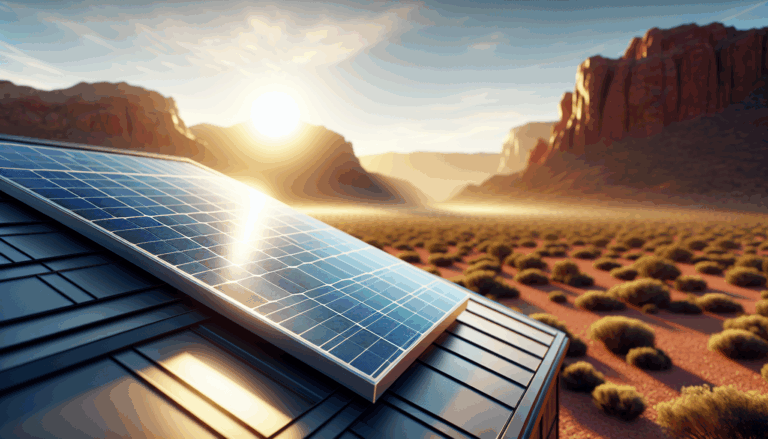
If you have or plan to install solar panels, the Powerwall 3 will integrate to store excess solar production and discharge it later when the sun isn’t producing. This increases your self-consumption and can reduce grid imports during higher-rate periods.
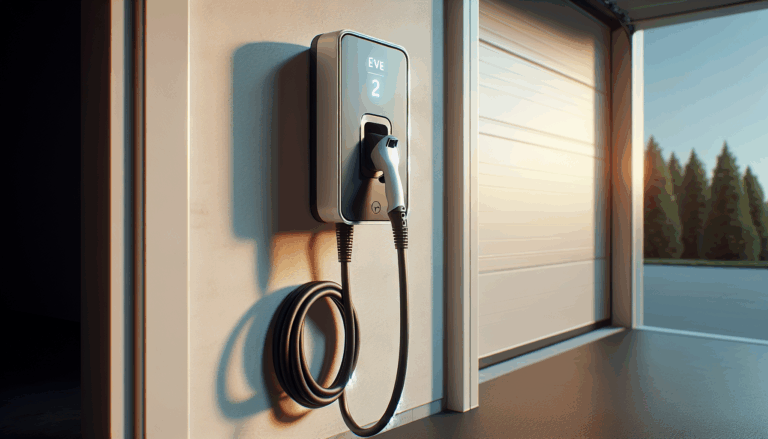
You can also use stored energy to charge an EV during peak time-of-use charges or during outages, although EV chargers may require additional wiring upgrades to handle high charging loads. Nevada Solar Group can size the system to meet combined home and EV charging needs.
Load management and smart scheduling
You’ll be able to create charging and discharge schedules using the Tesla app or installer-provided software to optimize for savings or backup readiness. For example, you can set the battery to prioritize backup reserve capacity, time-of-use arbitrage, or maximizing solar self-consumption.
Your installer will help you choose the right default settings and explain trade-offs so you can customize the system for your lifestyle.
Monitoring, app control, and firmware updates
After installation, you’ll use the Tesla app or a compatible monitoring platform to view real-time energy flows, battery state-of-charge, performance statistics, and system alerts. This transparency helps you understand how your system is performing and where you can save.
Firmware updates are pushed remotely, improving features and reliability over time. Your system may receive periodic updates that can change operation profiles or add capabilities—your installer should inform you of significant changes.
Warranty, maintenance, and expected lifespan
Tesla historically backed Powerwall systems with a 10-year limited warranty covering capacity and defects, though warranty terms can change by model and region. You should confirm current warranty details for Powerwall 3 with your installer or Tesla.
Routine maintenance is minimal—periodic visual inspections, keeping the area clear, and ensuring that vents and access points are unobstructed. Most issues are addressed remotely or through coordinated service visits by your installer.
What warranty typically covers
Warranties usually cover manufacturing defects and a guaranteed minimum retained capacity after a set number of years. Your installer and Tesla will outline what constitutes warranty work and how claims are handled.
Always keep your installation records, commissioning report, and warranty paperwork in a safe place to simplify future service calls.
Costs, incentives, and financing options
Installed costs for a home battery system vary widely depending on the number of units, electrical upgrades, and local labor rates. Typical installed cost per Powerwall has historically ranged between approximately $10,000 and $18,000 before incentives, but costs can change over time and depend on specific site conditions.
You may qualify for federal tax credits (such as the Residential Clean Energy Credit) when storage is installed with or charged by renewable energy, and there may be state or local incentives, solar rebates, and utility programs in Nevada that reduce out-of-pocket expense. Nevada Solar Group can help you identify applicable solar incentives Nevada and local rebates.
Financing and ownership options
You can finance a Powerwall with cash, solar + storage loans, home equity loans, or specialty energy financing. Some homeowners also explore PACE financing or bundling storage with a solar loan. Ask your installer about leasing or program-based options if available.
Nevada Solar Group typically offers guidance on available financing and can run examples to show estimated monthly payments and payback scenarios.
Choosing an installer: what to look for
Choose a licensed, insured installer with experience in battery and solar integration. Look for certifications, local references, and a clear maintenance and warranty support plan. A Tesla Powerwall installer with a track record in the Las Vegas area, like Nevada Solar Group, brings familiarity with permitting, grid interconnection, and local codes.
You should request detailed proposals that outline equipment, labor, permit fees, warranty terms, and estimated timelines. Transparent communication and a clear project manager make the process much easier for you.
Questions to ask potential installers
- Are you licensed and insured to do this work in my jurisdiction?
- Do you have experience installing Tesla Powerwall systems specifically?
- Who handles permitting and utility interconnection paperwork?
- What is the expected project timeline and inspection schedule?
- What warranty and post-installation support do you provide?
Good answers will give you confidence that the installation will be smooth and compliant.
After installation: commissioning, testing, and handover
Once the physical work is complete, the crew will commission the system—configuring settings, pairing the unit with monitoring services, updating firmware, and performing tests to verify performance. You should expect a demonstration of the app and operational modes.
The installers will walk you through how to monitor system status, what alarms mean, and basic troubleshooting steps. They’ll leave commissioning documentation, warranty information, and service contacts.
What you should receive at handover
You’ll get documentation that typically includes system design as installed, commissioning report, warranty paperwork, user manuals, and contact information for service and support. Make sure you understand how to check the system status on the app and when to call for support.
Troubleshooting and support
If you experience issues, many problems can be diagnosed remotely using the system’s telemetry. Tesla and certified installers can often identify errors or recommend corrective actions before a dispatch is required.
If an on-site visit is needed, your installer will coordinate repairs or replacement parts under warranty when applicable. Keep in mind that response times vary and may be influenced by peak periods or supply constraints.
Benefits you can expect from Powerwall 3
Installing a Powerwall 3 should give you greater energy resilience during outages, enable more effective use of your rooftop solar production, and potentially lower energy bills by shifting usage off peak rate periods. It can also add value to your home and provide a clean energy branding advantage.
The combined benefits are particularly strong in Nevada where high solar potential and increasing interest in EVs make storage a compelling addition to many households.
Primary use cases and outcomes
- Backup power during utility outages
- Storing excess solar for evening use
- Reducing grid purchases during peak pricing
- Powering EV charging during off-peak windows or outages
- Increasing self-reliance and home resilience
Each use case has trade-offs in sizing and operational strategy, which your installer will help you balance.
Preparing your home: homeowner checklist
You can make the installation process smoother by preparing your site in advance. Clear the installation area of landscaping debris, secure pets, make sure the main panel area is accessible, and gather homeowners’ association (HOA) approvals if needed.
Also, provide access to the electrical room and be ready for a scheduled short power interruption during final connections. Discuss any aesthetic concerns—like panel placement or visible conduit—with your installer beforehand.
Documents and approvals to have ready
- Proof of property ownership if required by permit
- HOA approval documentation if applicable
- Any existing solar system documentation (if retrofitting)
- Recent utility bills for load analysis
Having these ready shortens permit reviews and speeds the project.
Common questions homeowners ask
What happens during an outage?
- The Powerwall senses grid loss, isolates your home safely, and begins supplying your chosen loads. The transition is typically seamless for circuits connected to the backup panel.
How long will the battery run my home during an outage?
- Duration depends on battery capacity, number of units, and the loads you choose to run. Your installer will estimate realistic runtimes based on your typical usage.
Will I still be able to use my EV charger during an outage?
- You can enable EV charging from the battery, but it may require additional planning and power management to avoid depleting your backup reserve too quickly.
Do I need a solar system to install Powerwall 3?
- No, you can install a Powerwall without solar, but pairing with solar provides more value by charging the battery from clean energy and increasing self-consumption.
Comparing Powerwall 3 to older models
Newer models typically bring improvements in efficiency, power output, and software features. If you’re upgrading from an older Powerwall, the installer can assess whether a retrofit or replacement is the better choice based on condition and warranty.
An upgrade may offer higher usable capacity, better integration, and newer app features—your installer will clarify expected gains and costs.
Things to watch for in the contract
Before signing, review scope of work, detailed equipment lists, payment milestones, warranty coverage, and an estimated timeline. Ensure the contract specifies who handles permit fees, utility approvals, and any potential electrical upgrades.
Ask for clear change-order policies so you understand how additional work or unforeseen costs will be handled.
Environmental and property value impacts
Adding a battery system increases your home’s resilience and can be attractive to environmentally conscious buyers, potentially improving property value. The combination of solar and battery storage demonstrates a commitment to clean energy and modern energy independence.
Certain local incentives or appraised improvements can further enhance the financial case for adding storage.
Nevada-specific considerations and incentives
Nevada offers strong solar potential and has had evolving policies for net metering and solar incentives. Check current solar incentives Nevada and local rebates that may apply to solar-plus-storage systems. Nevada Solar Group’s local knowledge helps you navigate incentive programs, interconnection rules with NV Energy, and city or county permit nuances.
Utility programs and rebate availability change, so your installer will help you apply for applicable incentives and stay compliant with current rules.
Final checklist before you commit
- Get multiple quotes and compare equipment and services, not just price.
- Confirm installer licensing, insurance, and references.
- Verify warranty details for both equipment and installation workmanship.
- Ask about expected timeline for permits, installation, and final inspection.
- Confirm financing and incentive eligibility and expected net cost.
A clear understanding of these points will help you move forward confidently with the installation.
Summary and next steps
Installing a Tesla Powerwall 3 can provide the backup power, solar integration, and energy management you want for a resilient, cost-effective home energy system. You’ll go through a pre-installation assessment, permitting and interconnection, a day (or two) of on-site installation, commissioning, and then ongoing monitoring and occasional maintenance.
If you’re in Nevada, partnering with a local, experienced installer like Nevada Solar Group helps streamline permitting, utility coordination, and service support—making the process easier for you while maximizing the value of solar panel installation Las Vegas homeowners rely on. Reach out to a licensed Tesla Powerwall installer Nevada to request a site assessment and a customized quote so you can see exactly what to expect for your home. Nevada Solar Group 5145 S Arville St, Las Vegas, NV 89118 Phone: 702-899-5577 Email: info@nevadasolargroup.com Website: https://nevadasolargroup.com
Business Hours: Monday – Friday: 8:00 AM – 5:00 PM Closed Saturday and Sunday