Tesla Powerwall 3 Installation: What To Expect
Are you ready to learn what to expect when installing a Tesla Powerwall 3 at your home in Nevada?
Introduction: What this guide covers
This article walks you through the full Tesla Powerwall 3 installation experience so you know what to expect from first contact to final commissioning. You’ll get clear steps, realistic timelines, cost considerations, permitting and interconnection information specific to Nevada, and how Nevada Solar Group can support the process from design through warranty. You’ll also get practical tips for integrating EV charging safely and maintaining your system over time.
What is the Tesla Powerwall 3?
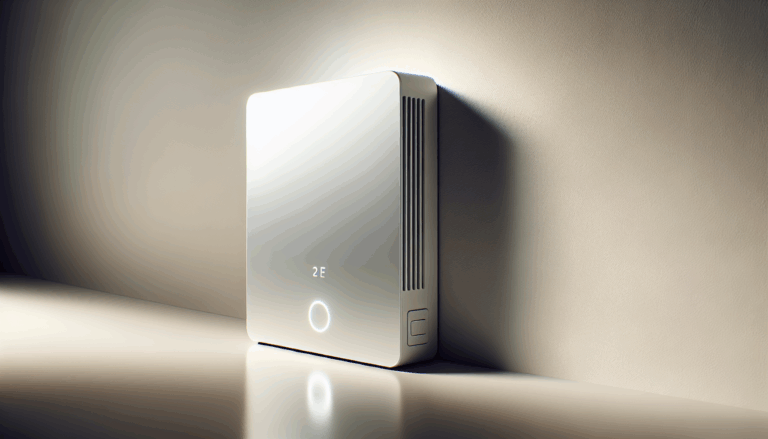
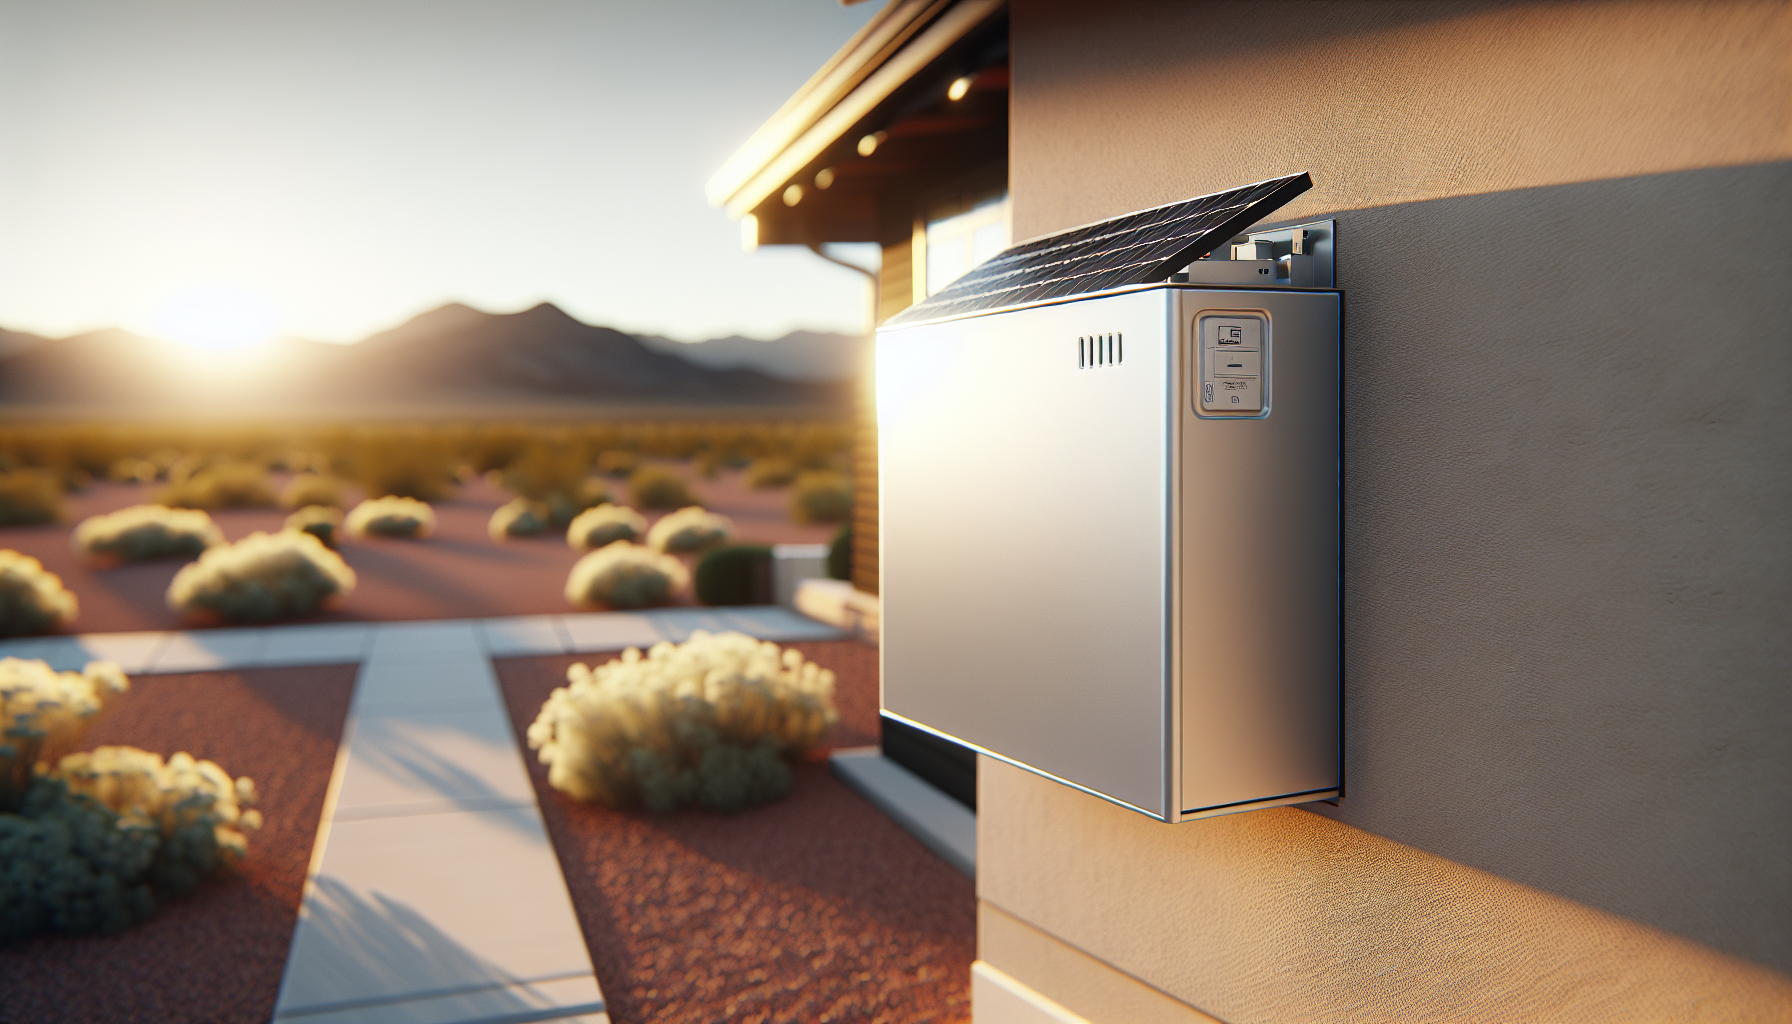
The Tesla Powerwall 3 is the latest evolution in Tesla’s home energy storage lineup. While exact specifications can change, you can expect it to be a compact, wall-mounted battery designed to work with solar, provide backup power during outages, and enable load-shifting for lower energy bills. Because Tesla updates hardware and firmware over time, confirm current specs with Tesla or your installer to match your expectations to the delivered product.
Why add a home battery like Powerwall 3?
Adding battery storage gives you resilience, energy independence, and financial flexibility. You’ll be able to ride through grid outages, store excess solar generation for night use, and potentially shift usage away from peak utility rates. In Nevada’s sunny climate, pairing solar panels with a battery tends to maximize the value of the system.
How Nevada Solar Group supports your Powerwall 3 installation
Nevada Solar Group is a local Las Vegas company that specializes in residential and commercial solar solutions. They bring licensed installation experience with Tesla battery systems and established partnerships with leading solar manufacturers. You’ll benefit from:
- Local permitting and utility experience in Nevada.
- In-house design and engineering to size the battery and integrate it with your solar and EV charger.
- Roofing and mounting expertise if wall or roof attachments are needed.
- Ongoing customer service and monitoring assistance post-installation.
Pre-installation: How you and your installer plan the system
Before anything physical happens, you and your installer will complete several planning steps. These ensure the battery will meet your needs and fit properly with your electrical setup.
Site assessment and energy audit
A technician will assess your roof, meter location, main electrical panel, and circuit layout. You’ll also do an energy audit to determine typical usage and identify critical loads you want backed up. This helps determine whether you need one Powerwall 3 or multiple units.
System sizing and goal setting
You’ll decide whether you want full-home backup, partial critical-load backup, or primarily load-shifting and solar self-consumption. Your choice affects the number of Powerwalls and any additional hardware (transfer switch or backup subpanel).
Solar compatibility and coupling
If you have or plan to install solar panels, your installer will discuss AC-coupled vs DC-coupled setups and how the battery will integrate. In most home installations, Powerwall is AC-coupled and pairs with your inverter(s) or a backup interface.
Financing, rebates, and incentives
You’ll review payment options: cash, loan, lease, or PPA (where applicable). Additionally, discover available incentives:
- Federal tax incentives such as the Investment Tax Credit (ITC) may apply if the battery is installed with a qualifying solar system—confirm current federal rules.
- Nevada-specific rebates or programs can change, so ask Nevada Solar Group to check current state and local incentives and utility programs that might affect payback.
Permits, utility interconnection, and inspections
Installing a battery involves permits and utility coordination. Your installer typically handles much of this, but you’ll want to know the steps.
Building and electrical permits
A local building permit and electrical permit are almost always required. The permit package usually includes electrical diagrams, equipment spec sheets, and mounting details.
Interconnection agreement with the utility
To allow grid-tied operation and safe interaction between the battery and the grid, you’ll complete an interconnection agreement with your utility. Nevada utilities have specific forms and processes; installers experienced in Nevada will help you navigate these.
Inspections and final approval
After installation, the local authority having jurisdiction (AHJ) and potentially the utility will inspect the system. Once they pass inspection, the utility will typically grant final approval to enable grid-tied operation.
Structural and electrical requirements you should expect
Knowing what the installer will check helps you prepare.
Location and mounting choices
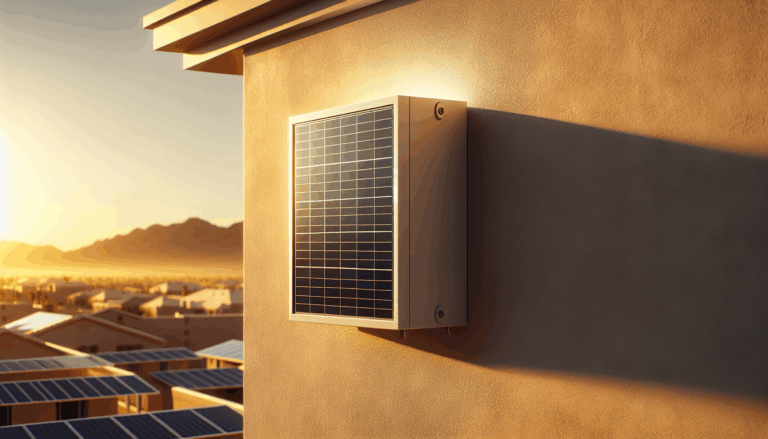
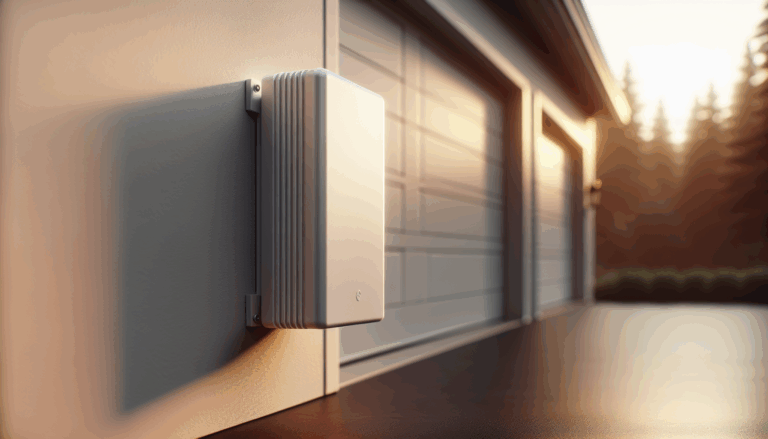
Powerwall units are typically mounted on a garage wall, utility room wall, or on a concrete pad outdoors if weather-protected. You’ll discuss placement based on access, sun exposure, and proximity to the main electrical service.
Main panel capacity and potential upgrades
Your main panel must have sufficient capacity and available breakers. In some installations you may need a panel upgrade, a new subpanel for backup loads, or a load management device. Your installer will tell you if upgrades are required.
Backup configuration (critical loads vs whole-home)
You’ll choose whether Powerwall 3 will back up specific circuits (critical loads) or the entire home. Whole-home backup may require larger battery capacity and additional transfer equipment.
Grounding, bonding, and code compliance
Battery systems require proper grounding and bonding, clearances, and compliance with NEC (National Electrical Code) requirements. Your installer ensures these technical standards are met.
The installation day: what happens and how long it takes
On installation day(s) expect a coordinated, professional operation that may include other trades (electricians, roofers if needed).
Crew arrival and safety setup
The installation team will arrive with tools, the battery or batteries, and necessary hardware. They’ll stage equipment, set up safety barriers if needed, and confirm placement with you.
Mounting and hardware installation
If wall-mounted, your Powerwall will be anchored to studs or a reinforced backing plate. If floor- or pad-mounted outdoors, mounting hardware and anchoring will be completed.
Electrical connections and wiring
Technicians will run AC and possibly DC wiring (in cases where there’s a specific inverter arrangement), install a backup gateway or similar controller, and connect the battery to your panel or transfer switch.
Inverter and gateway setup
If a backup gateway or specific Tesla interface is required, it will be installed and wired into your system. This component manages grid interaction and islanding during outages.
Expected duration
A standard Powerwall installation typically requires a full workday for a single unit at a straightforward site. More complex electrical upgrades, multiple battery installations, roof work, or permitting delays can increase the timeline.
Commissioning and system activation
After physical installation, commissioning ensures the system works as intended.
Software configuration and app setup
You’ll work with the installer to set up the Tesla app (or the relevant monitoring app) and configure user preferences such as backup-only mode, time-based control, or self-power optimization.
Firmware updates and testing
Batteries and gateways often receive firmware updates during commissioning. The installer will run operational tests, verify safe grid separation during simulated outages, and confirm monitoring telemetry.
Final inspections and utility approval
Once tests are complete, the inspector and utility will sign off. Your system is activated for normal operation after approval.
Costs and financing: realistic expectations
Costs vary based on location, electrical complexity, number of batteries, and whether solar is involved. The following table summarizes typical cost elements so you can prepare financially.
| Cost component | What it covers | Typical range (ballpark) |
|---|---|---|
| Battery hardware | Powerwall unit(s) | $7,000–$14,000 per unit (varies by model and market) |
| Installation labor | Mounting, wiring, commissioning | $1,000–$6,000 depending on complexity |
| Electrical upgrades | Panel, subpanels, transfer switches | $500–$8,000+ for panel upgrades or major work |
| Permitting & inspections | Local fees and paperwork | $100–$1,000 |
| Monitoring & gateway | Gateway hardware if required | Often included, but verify |
| Taxes & overhead | Sales tax, company overhead | Varies by jurisdiction |
These are illustrative ranges. Get a detailed quote from Nevada Solar Group to understand the exact cost for your property.
Typical timeline from consultation to activation
A realistic timeline helps you plan.
| Step | Typical duration |
|---|---|
| Initial consultation & site assessment | 1–2 weeks |
| Design, equipment selection & permit submission | 1–3 weeks |
| Permit approval & utility forms | 1–6 weeks (varies by AHJ/utility) |
| Installation day(s) | 1–3 days depending on complexity |
| Inspections & interconnection approval | 1–3 weeks |
| Total expected time | 2–12 weeks depending on permitting and upgrades |
Permitting and utility approval are the most variable stages—local experience reduces delays.
Warranties and maintenance
Your protection and peace of mind depend on warranties and routine care.
Manufacturer warranty
Tesla historically offers a battery warranty (for example, 10 years on earlier models). Confirm the exact warranty terms for Powerwall 3 and how capacity retention is handled over time.
Installer warranty and workmanship
Nevada Solar Group typically provides workmanship guarantees and will coordinate service calls for any issues related to installation. Clarify what service response times look like and whether remote troubleshooting is available.
Maintenance needs
Batteries require very little ongoing maintenance. Periodic checks on mounting hardware, clearances, and the app’s reported status are recommended. Your installer can schedule inspections or remote monitoring options.
Integration with solar and EV charging
A Powerwall 3 is most powerful when combined with solar and EV charging. Here’s how you can expect these systems to interact.
Solar + battery synergy
During the day, your solar array can charge the battery. At night or during peak pricing, the battery discharges to meet house loads, reduce demand charges, or power backup circuits during outages.
EV charging integration
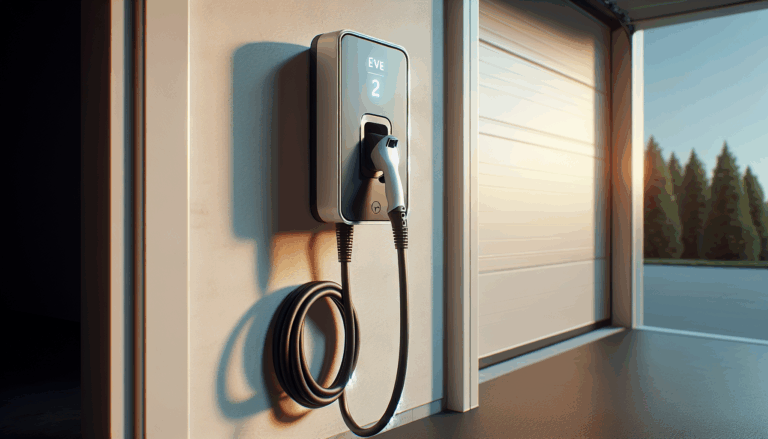
If you charge an EV at home, the battery can help manage load and avoid spiking demand charges. Depending on your charger and vehicle, the system can prioritize charging when solar or low-cost battery power is available.
Tips for managing EV charging with a battery
- Schedule EV charging during solar production or low-price periods via the charger’s smart scheduling.
- Consider a vehicle-to-home (V2H) strategy only if both the vehicle and the charger support it and it’s allowable under local codes.
- Coordinate your charger’s power level with the battery capacity to prevent overload.
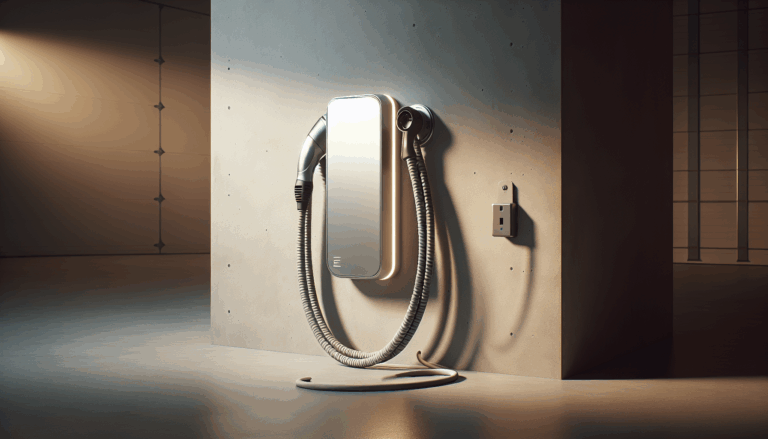
Tips for Installing Home EV Chargers Safely
If you plan to add an EV charger with your battery installation, follow these safety and best-practice tips.
- Use a licensed electrician or installer certified for EV charger installation.
- Install dedicated circuits for EV chargers to avoid shared loads that could trip breakers.
- Choose a charger with a Smart or load-management feature if you’ll run it alongside a battery; this helps prevent overload.
- Verify outdoor charger placement meets local weather and clearance codes.
- Ensure ground-fault protection and proper circuit breakers are installed.
- If you install a charger outdoors, use weatherproof conduit and GFCI protection as required.
- Test charger operation with your vehicle after installation and keep emergency contact numbers for your installer handy.
Safety protocols during and after installation
Batteries are generally safe, but they require professional handling.
- Ensure the installer follows manufacturer safety guidelines for handling and mounting.
- Keep flammable materials away from the battery location.
- Maintain required clearances around the unit for ventilation and service access.
- Follow manufacturer guidance on emergency shutoff procedures and provide these to first responders if required by local codes.
Common questions homeowners ask
You’ll likely have practical questions. Here are common ones with concise answers.
Can a Powerwall power my whole house?
Possibly, depending on the number of Powerwalls, your house’s peak load, and whether you prioritize certain loads. A professional load study helps determine the right configuration.
How long will the battery last during an outage?
Duration depends on battery capacity, number of units, and how much load you draw. You can extend runtime by limiting loads during outages or selecting critical circuits only.
Will I need a new electrical panel?
Not always. If your panel has available capacity and the wiring meets code, you may not need a replacement. If you want whole-home backup or your panel is old or undersized, upgrades might be recommended.
What happens to my solar during an outage?
When properly configured with battery backup and a gateway, your system can island and continue to power your home with solar and battery resources. Without a backup device, grid-tied solar typically shuts down during outages to protect line workers.
Is battery storage worth it financially?
This depends on your electricity rates, time-of-use pricing, solar production, and how you value resilience. Batteries often pay back faster when combined with solar and optimized to offset peak rates. Ask Nevada Solar Group for a customized financial analysis.
Choosing the right installer in Nevada
Selecting the right installer ensures a smooth process and a reliable outcome. Look for the following:
- Local licensing and certification for battery and solar equipment.
- Experience with Tesla systems and utility interconnection in Nevada.
- Positive local references and reviews.
- Comprehensive design and engineering, not just installation.
- Clear warranties on equipment and workmanship.
- Transparent pricing and written scope of work.
Nevada Solar Group meets many of these criteria with local expertise, manufacturer partnerships, and a customer-first approach.
Troubleshooting and support after installation
After activation, issues are rare but possible. Expect these support options:
- Remote monitoring and diagnostics through the app.
- On-site service for electrical or hardware repairs.
- Firmware updates that can resolve minor issues remotely.
- Clear escalation procedures and documented response times from your installer.
Environmental and property considerations
Think about how a battery installation fits with your property and lifestyle.
- Placement should minimize visual impact while remaining accessible for maintenance.
- If you live in a community with HOA rules, check installation guidelines beforehand.
- If you have a gas generator, discuss coordination so backup power sources function safely together.
Sample pre-installation checklist for your home
Use this checklist to prepare for a Powerwall 3 installation appointment.
- Gather recent electric bills for load analysis.
- Identify preferred battery location(s) and ensure access.
- Note any planned renovations that may affect electrical service.
- Confirm roof or wall structural condition for mountings.
- Verify HOA rules or neighborhood restrictions.
- Prepare questions about financing, warranties, and expected performance.
Closing: Next steps and contacting a local expert
You’ve now got a clear picture of what to expect during a Tesla Powerwall 3 installation in Nevada: from planning and permits to installation, commissioning, and integration with solar and EV charging. When you’re ready, reach out to a licensed local installer such as Nevada Solar Group to get a site-specific assessment, personalized system design, and a detailed quote. With the right planning and a qualified team, you’ll improve your home’s resilience and make the most of Nevada’s abundant solar potential. Nevada Solar Group 5145 S Arville St, Las Vegas, NV 89118 Phone: 702-899-5577 Email: info@nevadasolargroup.com Website: https://nevadasolargroup.com
Business Hours: Monday – Friday: 8:00 AM – 5:00 PM Closed Saturday and Sunday